Project Chameleon

Derphound01

Do you want ants? Because that's how you get ants.
Birdcats Supporter
Joined
Sep 22, 2023
Messages
984
Location
Tennessee
Vehicle Details
Chameleon 1995 Thunderbird LX 4.6
Country flag
Well, here goes nothing...

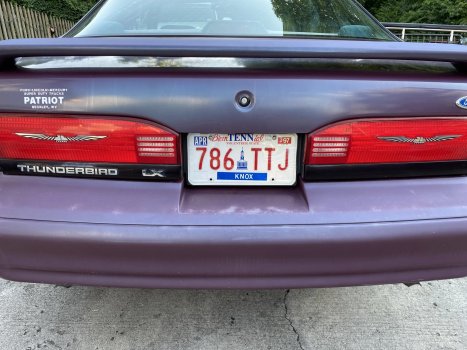
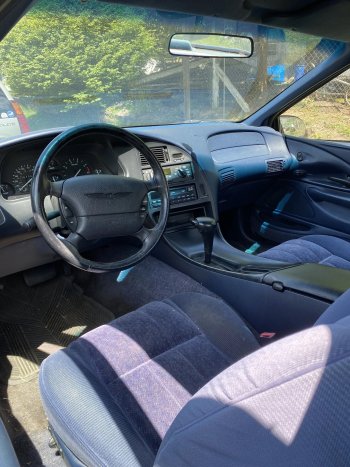
Recently I acquired a 1995 LX 4.6 in Chameleon Blue with the Dark Blue cloth interior. The mileage currently sits just around 67k (yes it spins and yes the Carfax report shows it to be accurate and yes I know at some point it was probably frozen). It's got the factory Traction-Lok 3.27 limited slip, standard non-Mach stereo, illuminated entry, factory remote keyless entry, SecuriCode, non-ABS brakes, and no sunroof. It's also 100% stock.

To me, its about as perfect of a spec list as you could get. It has most of the typical MN12 issues (except there's no rust), but it runs and drives beautifully for its age.

It was purchased new in 1995 by a close friend's aunt who recently passed away. My friend and I were talking about these cars randomly and I mentioned how I had always wanted one. He then informed me he knew just where I could find one. One week later, I hooked a U-Haul trailer to the Land Cruiser and the Thunderbird was in my driveway.

My goals for this one is to do a proper touring coupe restomod that I can one day pass down to my son. Repair the body and paint, add SC bumpers and skirts, retrofit SC brakes with rear discs, fit some style of Ford OE 17" wheels, refresh everything, and add some mild performance upgrades. I want to keep the stock Ford look and add some sleeper performance.

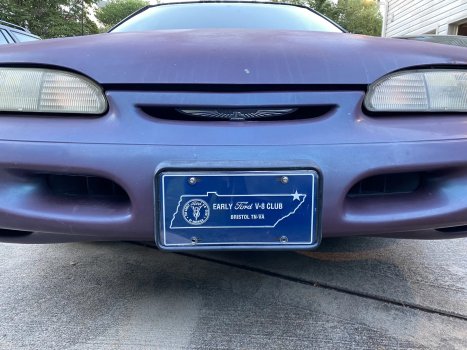
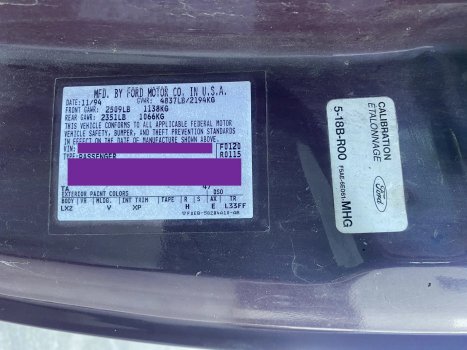
Here's what it looked like the day I picked it up.

Day 1 Exterior Wash.jpg

Day 1 Rear.jpg

Day 1 Front.jpg

Day 1 Interior.jpg

Day 1 Door Jamb Plate.jpg

In a past life, I was a mechanic, so I plan to do as much of the work as possible myself. As I progress with the build, I'll post updates and DIYs here.

Link to my welcome post here.

(originally posted at TCCoA on September 1, 2022)
 
Last edited:
Small Fixes
(updated 7/6/23)

9/1/22: New rear taillight housing. The original was shattered when I bought the car. There's a dent in the quarter panel that I'll have pulled when I repaint it.

Rear Light.jpg

2/25/23: Lot of quick fixes in this update. Didn't do them all at once, but an infant in the house has quelled my internet time pretty significantly.

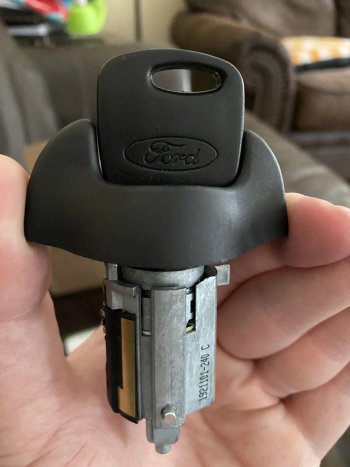
Replaced the ignition lock cylinder with one from a 1996 Mustang with the H-67 keys. They are the same 10-cut key as the 1995 but with a transponder head and different cylinder trim. Yes I know the Thunderbird doesn't have transponder keys, but I had this sitting on the shelf with two uncut factory keys, so it was a free fix. Plus I like the way the transponder keys feel in the hand better.

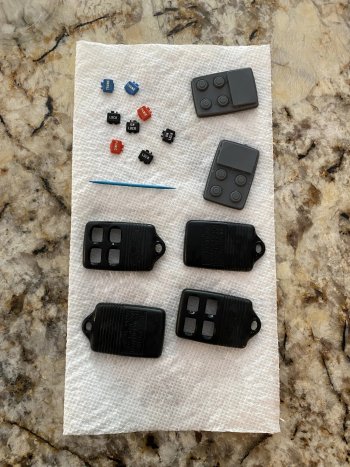
Also took the time to clean 27 years of gunk off the remotes.

Lock Cylinder.jpg

Remotes.jpg

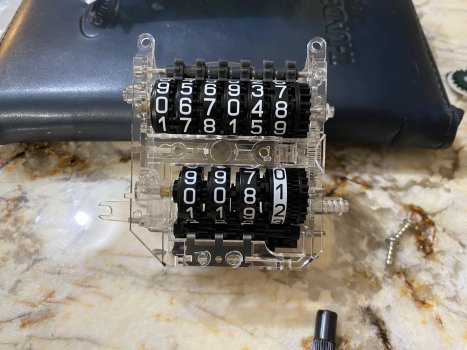
I screwed up and reset the trip meter while pulling out of the gas station. Decades of driving Fords and I was still dumb enough to reset it while the car was moving. New gears fixed it. And yes that is the original, Carfax-verified mileage. I parked it after I stripped the gears and didn't drive it again until it got fixed.

Odometer Repair.jpg

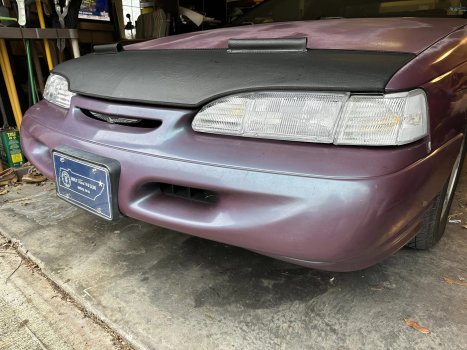
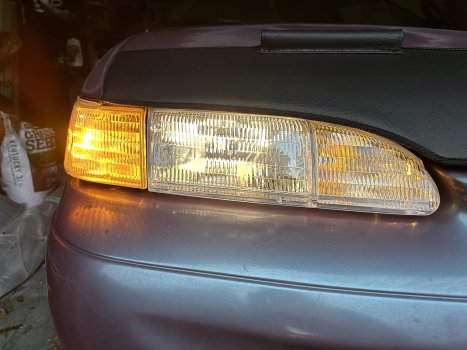
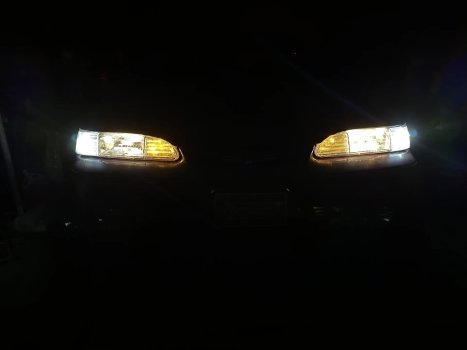
Replaced the corners and headlight housings. The signals are LED switchbacks that shine white in sidemarker mode and flash amber when the signal is activated. The headlight housings are running the bulbs that came with them. Eventually I will switch them out to all shine the same shade of white.

Also added a hood bra. The old sunburnt paint is so brittle that it was getting rock chips deep enough to expose bare metal. I touched them up and fitted the bra.

Headlights 1.jpg

Headlights 2.jpg

Headlights.jpg

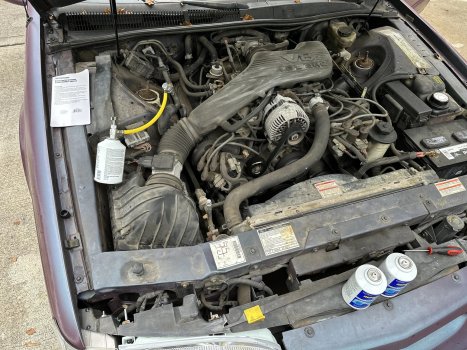
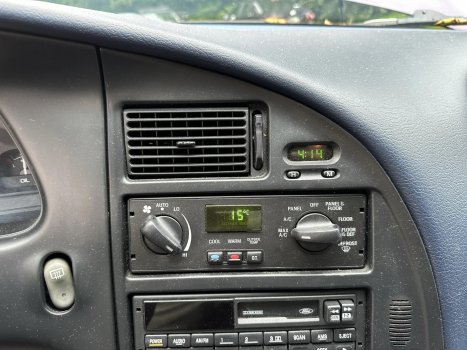
7/6/23: Finally got around to fixing the AC. Found a few cans of R-134a in the garage and gave it the old junior college try. Now it blows ice cold and the ATC works flawlessly.

AC Recharge.jpg

ATC Display.jpg

(originally posted at TCCoA on September 1, 2022)
 
Last edited:
SecuriCode Keypad Retrofit
(Cross-posted to its own thread here for search purposes.)

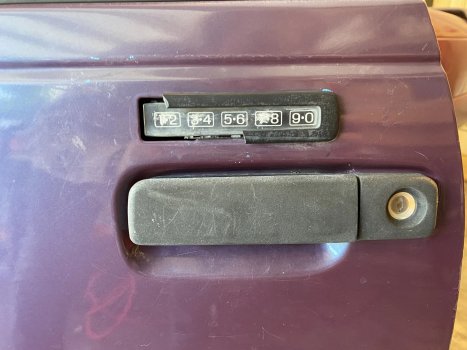
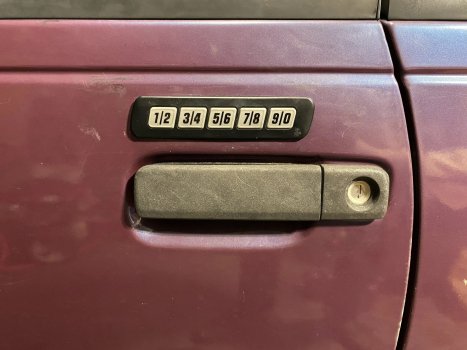
When I bought my car, the original SecuriCode keypad was fairly damaged. The trim piece that fit it to the door was shattered and the retaining clip had fallen down inside the door. The buttons were also heavily worn. Thanks to the busted trim, water was getting inside the door and leaking into the cabin. A quick search of the internet turned up no used keypads, so I taped it off until I could figure out what to do with it.

Luckily enough, both the trunk hinge sticker and the owner's manual card were still intact, so I had the factory code. The keypad worked correctly despite the damage so I knew there was hope for it. I took some measurements of the hole on the door and went off to my local pull-a-part. There I found a second generation Taurus LX with the keypad fitted. The buttons were destroyed so it was no good for me, but I was able to determine the MN12 and Taurus keypads used the same size mounting hole and retaining clip. It also helps that I prefer the Taurus keypad to the MN12 one by a lot.

Keypad 1.jpg

And with that, off to Fleabay I went. I found a NOS backlit keypad with weather seal for a first generation Taurus SHO, so when it arrived I got to work. Both the first and second generation Tauruses used the same keypad, so they will all fit it. There were some modifications that had to be made that I'll detail below.

Steps to follow:

1.)
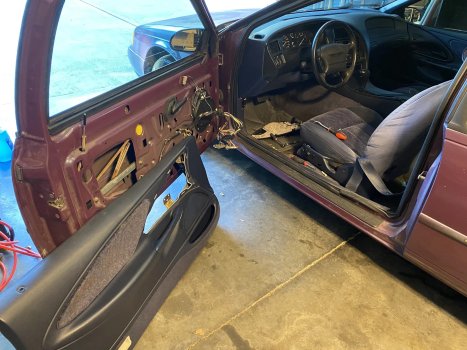
Raise window and remove interior door panel (remove handle trim, disconnect switches and plugs, remove courtesy light lens, unscrew both screws, and gently lift panel off).

Keypad 2.jpg

2.) Disconnect the grey 8-pin SecuriCode keypad plug from the connector and remove the three plastic rivets from the top left of the door. The third rivet is mounted to the top of the window track and cannot be seen. You can release it by reaching up into the door and pulling the wiring loom out towards the exterior side of the door.

3.) Remove the retaining clip from the keypad by sliding it towards the front of the car. Do not lose this clip as you will need it for installation.

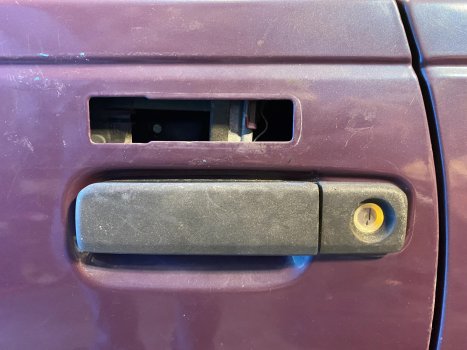
4.) Pull the keypad out from the exterior side of the door and fish the wiring harness out through the mounting hole.

Keypad 3.jpg

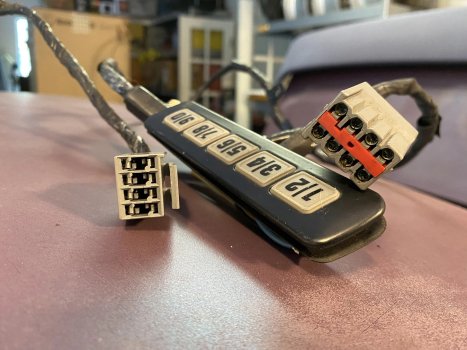
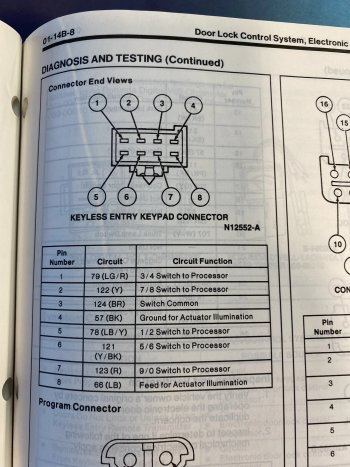
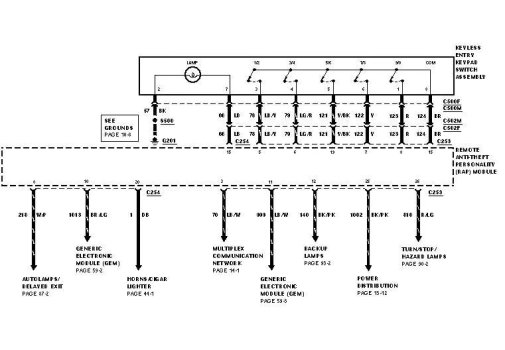
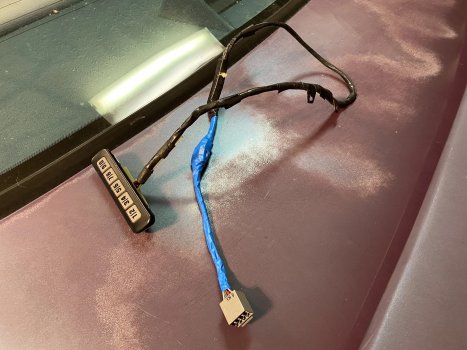
5.) Here's where the fun begins. The MN12 and the Taurus used different connectors on their keypads, but the wiring matches. The pinouts are below. All you have to do is snip the Taurus plug off the new keypad and transplant the MN12 plug to it. Make sure you snip the wires evenly and do not cut off any of the relays or resistors in the loom.

The pins are in different positions but the wires are all the same colours. Match each wire up, solder or crimp them, and heat shrink it. And don't forget to leave enough slack on the MN12 side to run the harness to the connector.

Keypad 4.jpg

MN12 Keypad Diagram.jpg

Taurus Keypad Wiring.jpg

Keypad 5.jpg

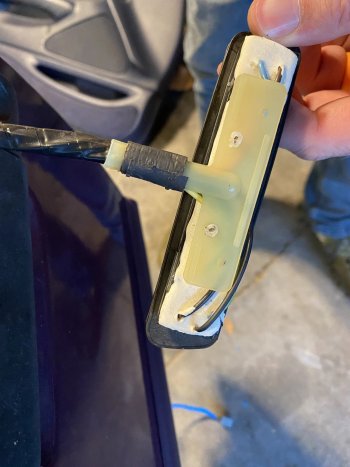
6.) Untape and remove the plastic shield on the back of the new keypad. I taped over the wires on the back of the keypad as a precaution, but you should be good as long as the epoxy is still solid.

Keypad 6.jpg

7.) Feed the wiring harness through the mounting opening and around the back of the window track. You'll want to route the loom around the side of the track closest to the door latch. Make sure it does not interfere with the window track or regulator along with the door lock mechanisms.

8.) Ziptie the harness to the door frame and plug the harness into the connector. Reattach the driver's window switch temporarily. Roll the window up and down to ensure the harness won't get caught in it. Unplug the switch once you have confirmed it is functioning correctly.

Keypad 7.jpg

9.) Test the keypad by entering the factory code followed by the 3/4 and 5/6 buttons. Both doors should unlock and the trunk should pop. Also test the 7/8 - 9/0 feature to make sure all doors lock correctly.

10.) Replace the door panel and admire your handiwork.

Here's what the finished product should look like. I'm incredibly happy that the backlighting matches the illuminated entry light around the lock cylinder.

Keypad 9.jpg

And here it is in action.

I hope this helps someone. Feel free to reply here with any questions.

(originally posted at TCCoA on September 1, 2022)
 
Last edited:
Trunk Lift Support Struts
(Cross-posted to its own thread here for search purposes.)

This one was easy. I followed this guide and it worked perfectly: Trunk Lid lift strut information. The instructions are posted below for those who'd prefer to not visit a different forum.

My car has a spoiler, so I opted to use two supports. I tested it with one and it was not enough to lift the trunk. One support also provided very little resistance when closing the lid.

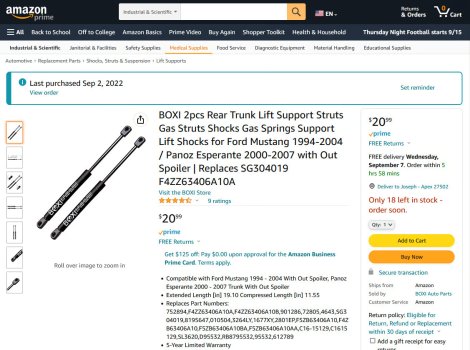
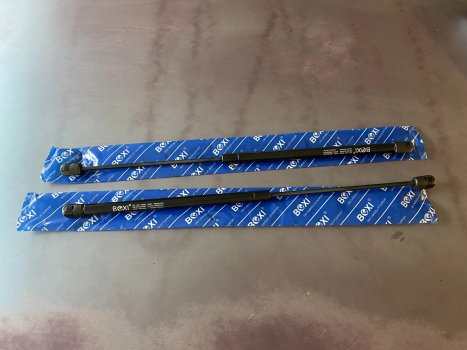
Linked here are the supports I used. They are a direct replacement for the OE Mustang supports. A pair of these is the same cost as just one of the OE supports.

Trunk Struts.jpeg

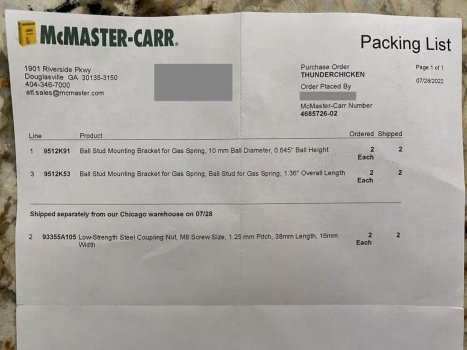
Shown here is the picklist of McMaster-Carr's current part numbers along with the quantity you will need for two supports. You'll need a 12mm and a 16mm wrench to attach the ball mount to the coupling nut.

Trunk Strut Hardware.jpeg

Steps to follow:

1.)
Attach one ball socket fitting included with lift struts to the end of each coupling.

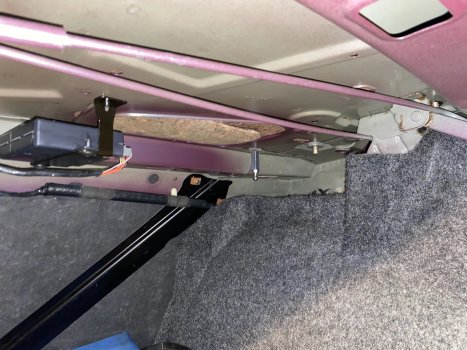
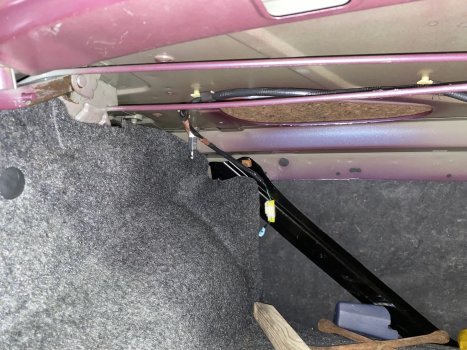
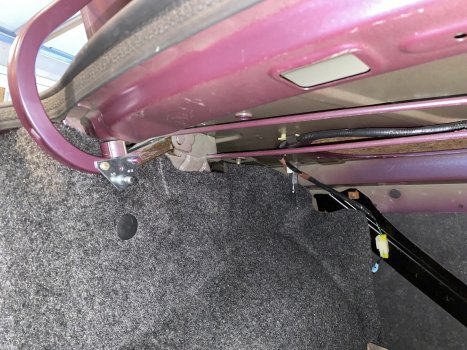
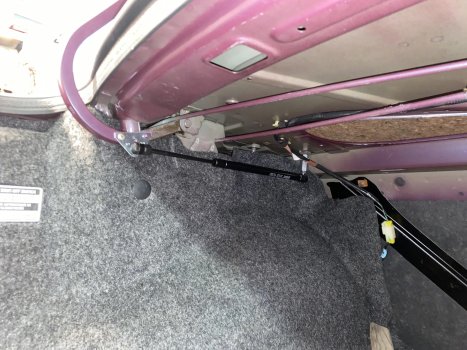
2.) Screw the couplings onto the existing studs under the decklid. There is only one stud on each side that will thread correctly.

Trunk Strut 1.jpg

Trunk Strut 2.jpg

3.) Enlarge the top right hole on each ball mount to either 1/4" or 17/64" to fit around trunk torsion arm. My Venetian Blue torsion arms required the larger hole.

4.) Affix ball mount to torsion arm and center other screw hole on trunk arm. Drill a small pilot hole in each trunk arm that lines up with the top left hole in each ball mount bracket.

5.) Screw ball mounts into trunk arms.

Trunk Strut 3.jpg

Trunk Strut 4.jpg

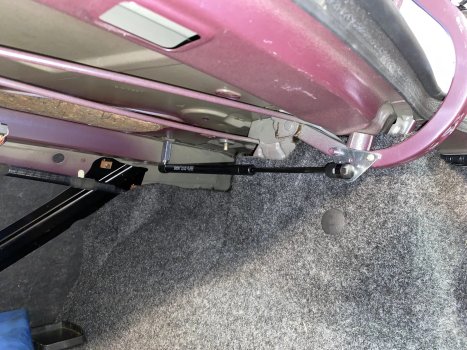
6.) Attach lift struts to ball sockets. Secure locking clips.

Trunk Strut 5.jpg

Trunk Strut 6.jpg

Trunk Strut 7.jpg

7.) Test your handiwork.

Here's a video of it being opened via the keyless entry remote. I didn't get a video of me closing it, but it can be easily closed with just two fingers.

All in all, I'd say this was a success. I hope this helps someone. Feel free to reply here with any questions.

(originally posted at TCCoA on September 5, 2022)
 
Last edited:
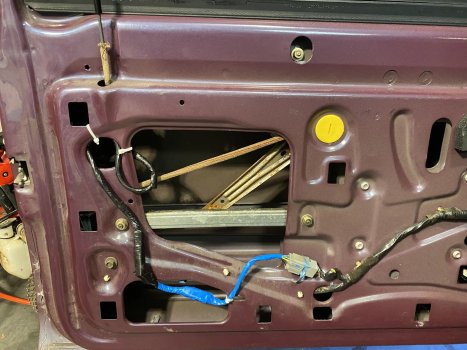
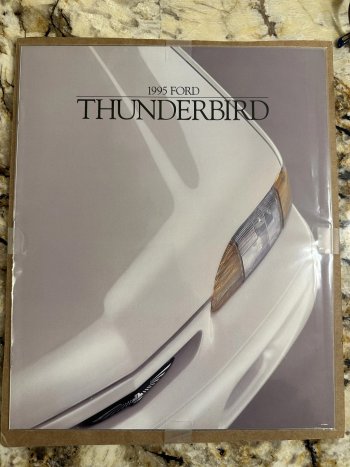
Found this on eBay in mint condition. The seller even shipped it in a comic book sleeve.

Sales Brochure.jpg

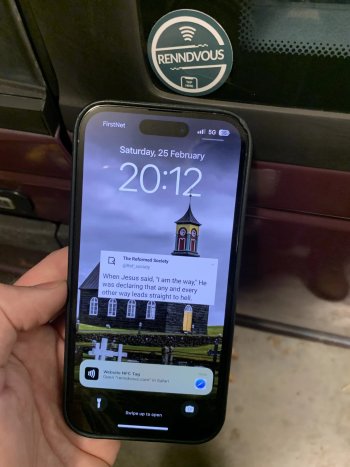
I also created a Renndvouz page for the car (linked here). If you're not familiar, it's a site where you can list the specs and story behind your car, link to social media and build threads, and post photos. I opted to add the Renntapp NFC tag roundels. If you've got the roundel on your car, anyone with a smartphone can tap the NFC tag and it will take them straight to the site. It's great for car meets and such. As of now, mine is the first and only Thunderbird on their site.

Renndvouz NFC Tags.jpg

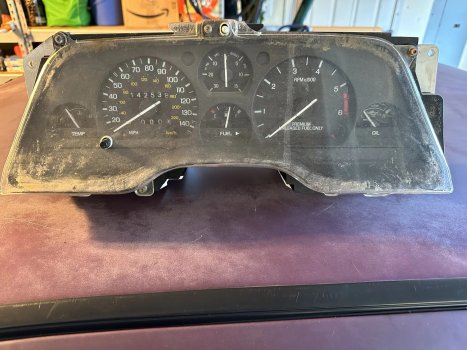
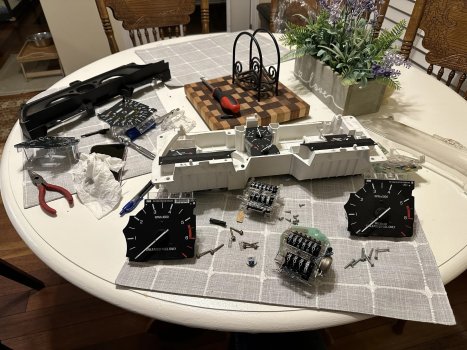
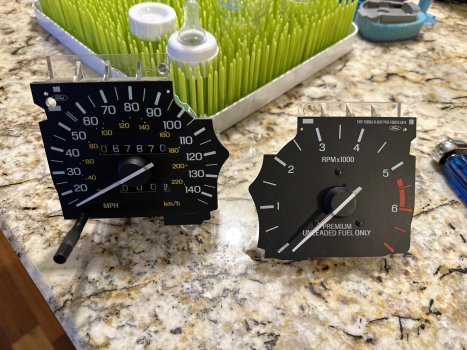
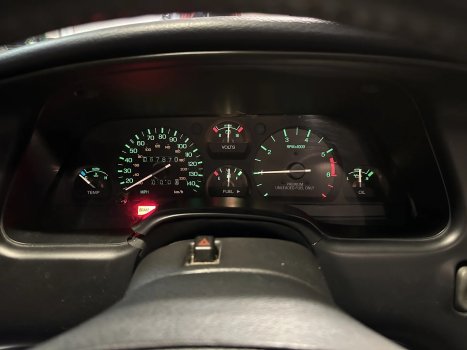
Also acquired a piece of unobtanium. Cleaned it up and swapped the heads out.

SC Cluster.jpg

SC Conversion.jpg

SC Gauge Swap.jpg

SC Speedometer.jpg

Mostly though, we've been driving and enjoying the car. We've taken it on a few short trips and Sunday drives. Had a lot a great conversations with people who haven't seen a MN12 in years but have some sort of fond memories of one. The car wash kids fawn over it every time I take it there. It feels great when these kinds of conversations happen.

Stay tuned for more.

(originally posted at TCCoA on February 25, 2023, and March 3, 2023)
 
Last edited:
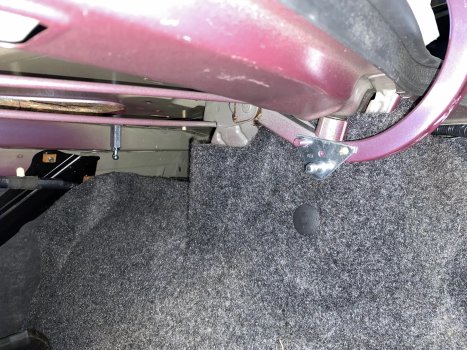
Finally got all the posts on this transferred over from the old site.

Currently working on a major modernization to the stereo system. Hoping to have it done sometime next month.
 

Similar threads

Back
Top