This all started with stumbling upon a good seasonal sale for the Alpine SS-SB10 subwoofer that I detailed here:
 forum.birdcats.com
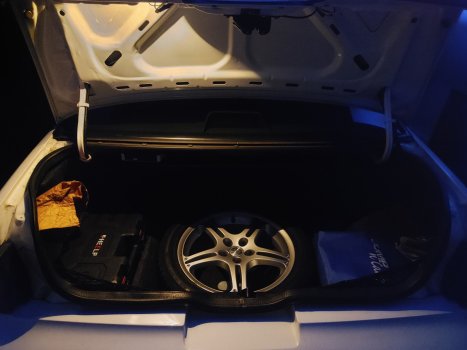
I've had the following audio setup since 2012 with the JL Audio XD700/5 and Kicker 09TCVT84 being the most recent pieces:
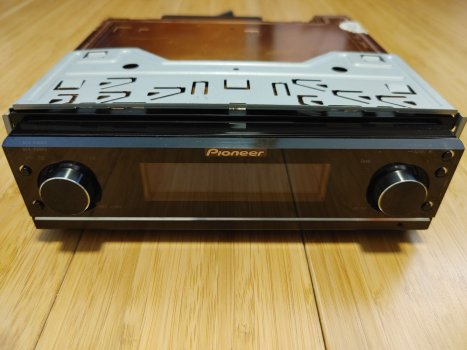
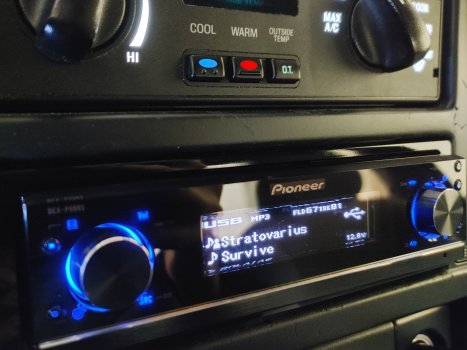
Pioneer Premier DEH-P800PRS head unit
JL Audio TR570-CX 5x7” front coaxial speakers
Pioneer TS-A6857 6x8” rear coaxial speakers
JL Audio XD700/5 5-channel amplifier
Kicker 09TCVT84 8” loaded subwoofer box
Like I said in the Alpine sub thread, the 8" Kicker was always a temporary solution or a starter sub. After I replaced that though, I saw an opportunity to clean up wiring and replace the other speakers as well because I could.
Since none of this was methodically planned like my forthcoming hub swap which I've had to repeatedly put on hold, I kind of just thought through what I currently had in the sound system and decided on the fly whether I wanted to make any other upgrades.
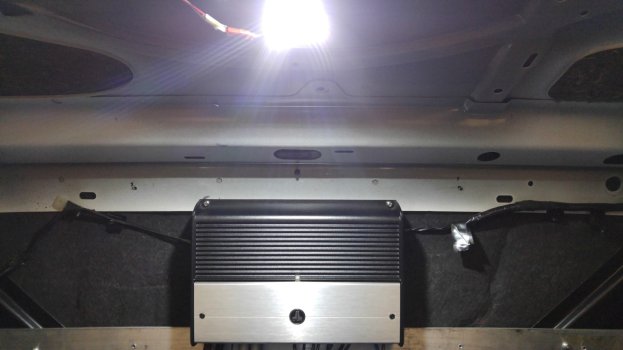
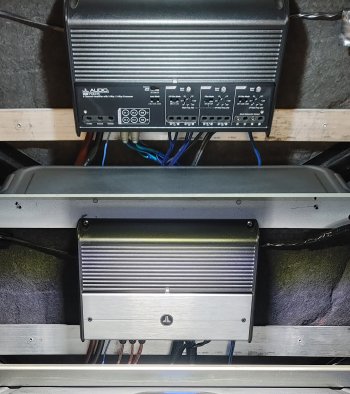
The only truly untouchable piece of hardware was the XD700/5 amp. I bought that brand new for Black Friday 2011. It's a great 5-channel amp with a tiny footprint and it also addressed a nagging ground loop issue I had with my previous 4-channel Directed 500 amp.
The next upgrade after the sub was the front speakers. I replaced my old entry-level JL Audio TR570-CX 5x7" front coaxials with Alpine R-S68 6x8" coaxials with pivoting tweeters. It's nice to finally have a proper 6x8" up front with a wider and taller cone surface, and the pivoting tweeters are nice considering I didn't want to spring for components and figure out where to mount the component tweeters.
For 24 years, I used posterboard-backed foam rings that I cut to seal the gap between the TR570-CX's basket and the Ford speaker mount adapter.


Can I hear a difference? Sort of. The highs did seem to be a little more detailed, but I don't do much critical listening in the car anymore and I didn't do an A/B comparison that would have been interrupted by a few minutes of swapping speakers anyway. I was satisfied with what I heard though.
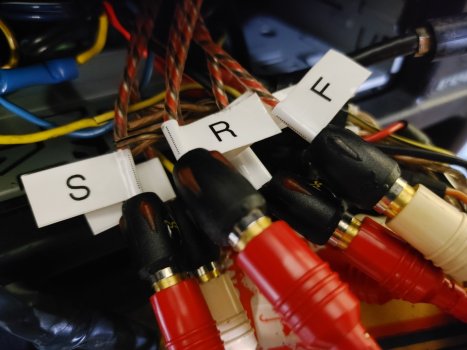
After that, I removed the old pair of 18' front and rear RCA cables from my head unit to my amp and then ran new Stinger 4000 series 20' 6-channel RCA cables. The main reason for doing this was so that I could run RCAs between the head unit and the amp rather than rely on feeding the sub a speaker-level signal which I had been doing since 2012 because, again, that 8" Kicker was a temporary solution and a bit of an afterthought.
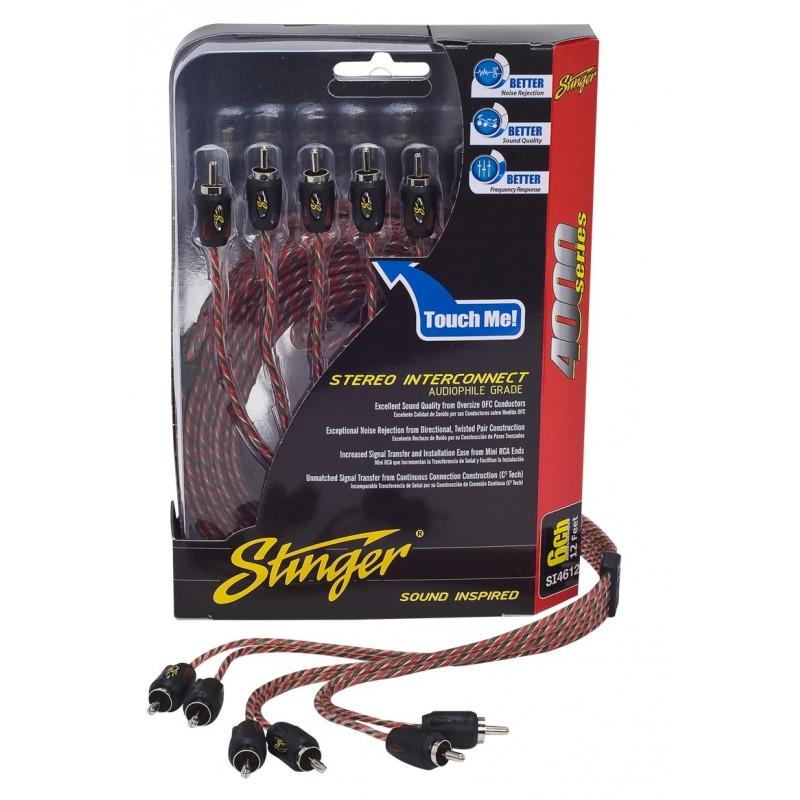
18' wasn't long enough to provide decent slack. Those RCAs were pulled tight from the back of the head unit to the middle of the rear seatback. Also, the options for a good quality set of longer 6-channel cables were slim pickings. I didn't seek out a 6-channel set initially, but I'm glad I did. It was so convenient to only pull only one run of cable behind and under the dash and under the carpet for the front, rear, and sub RCAs.
After that, I thought I had reached a good stopping point, but then I noticed intermittent output from the rear speakers. Thinking that one of them was dead after switching the "dead" speaker from the right rear to the left rear and having the silence follow the speaker, I bought and installed the Kenwood KFC-D681C as new rear speakers to replace the Pioneer TS-A6857 speakers I had previously.


Since I'm using these as rear fill with a 6 dB cut, these aren't really a big functional upgrade despite being much better quality speakers than the Pioneer TS-A6857. They are a better power match for my amp for what that's worth though. Since you can still see the speaker cones in bright sunlight through the OEM grille panels, at least they also match the interior?
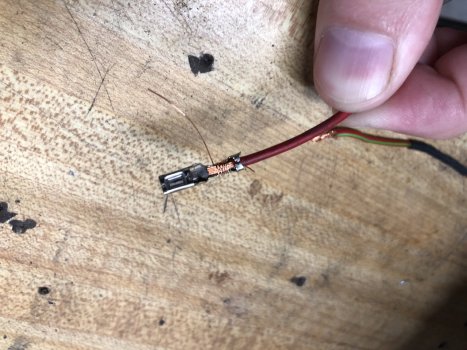
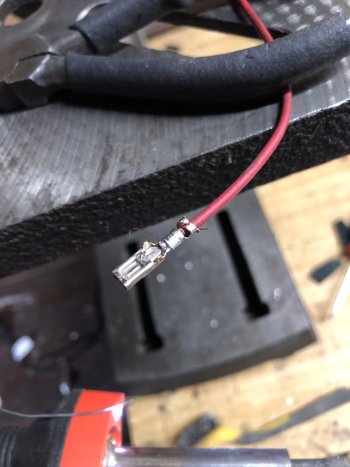
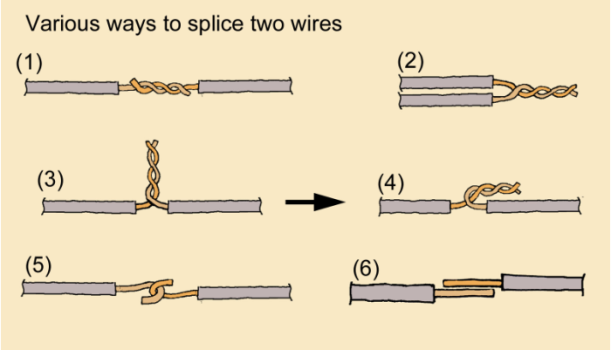
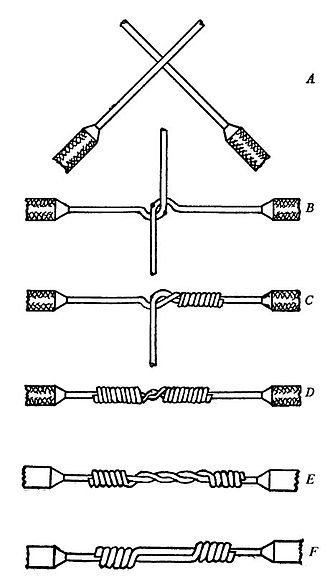
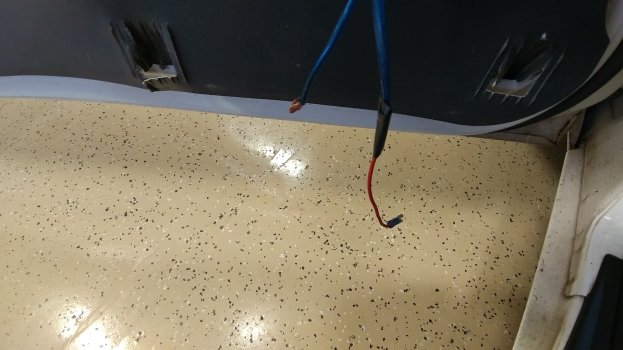
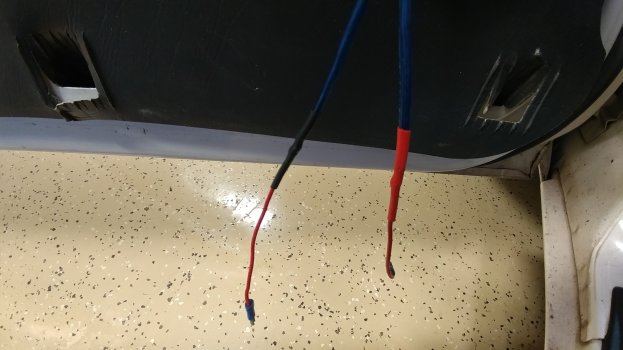
Remember that intermittent output from the rear speakers though? As it turns out, present-day me is once again disappointed with past me; this time for a shitty speaker wiring job that was the real culprit of the speakers cutting out. It doesn't explain why the dead channel changed sides when I swapped the old speakers left and right, but that could have been a coincidence. I cleaned, re-spliced, soldered, and heat-shrunk the rear speaker wires on both sides of the car running to the amp.
I didn't take pictures of this process, but I did the same thing with my front speakers a few years ago. It was only a matter of time that I would end up doing the same for the rear as well. Even then, I feel like I did a much better job with the rears than the fronts that I did back in 2019, but in both cases, the old electrical tape job dates back to 2002. I guess I just didn't understand back then. I definitely didn't know anything about soldering back then and I didn't discover heat shrink tubing until 2009 when I did my home theater speaker wiring.
As far as evaluating the sound quality now, it's sufficiently more detailed up and down the audible frequency range and a lot more powerful in the bass department.
I'm sure everyone who has ever been into putting together sound systems has a song or a few songs they like to use for test listening. For me, these are my main ones:
I think learning to better match power levels between my amp's gain controls and my speakers also played a big factor in improving the sound, as was being able to now use sub controls through the head unit by running RCAs to the amp for the sub channel.
I said in another post that what I have now in this car is easily the best sound system in the garage. I haven't even run the DEH-P800PRS's automatic EQ and time alignment yet.
That just about covers it for the core audio upgrades and you would think that I'm at a good stopping point for now, and I am. However, since I've been in the process of cleaning up previous wiring messes in the trunk, I may as well continue with this loosely organized assortment of audio upgrades. Most of my attention this year is focused on home upgrades, so I may as well squeeze in what I can with this during these winter months before the house stuff and before I can hopefully refocus later this year on the many fine details that I've already put in to planning the hub swap.
Alpine SS-SB10 subwoofer: Something that finally fits under my rear shock tower brace
This is going to be long, esoteric, and written like a tech product review even though it's not entirely product-centric. Maybe it gives someone else here at least one option to look at if they also have this ridiculous set of criteria to meet: Rear shock tower brace installed Respectable bass...
I've had the following audio setup since 2012 with the JL Audio XD700/5 and Kicker 09TCVT84 being the most recent pieces:
Pioneer Premier DEH-P800PRS head unit
JL Audio TR570-CX 5x7” front coaxial speakers
Pioneer TS-A6857 6x8” rear coaxial speakers
JL Audio XD700/5 5-channel amplifier
Kicker 09TCVT84 8” loaded subwoofer box
Like I said in the Alpine sub thread, the 8" Kicker was always a temporary solution or a starter sub. After I replaced that though, I saw an opportunity to clean up wiring and replace the other speakers as well because I could.
Since none of this was methodically planned like my forthcoming hub swap which I've had to repeatedly put on hold, I kind of just thought through what I currently had in the sound system and decided on the fly whether I wanted to make any other upgrades.
The only truly untouchable piece of hardware was the XD700/5 amp. I bought that brand new for Black Friday 2011. It's a great 5-channel amp with a tiny footprint and it also addressed a nagging ground loop issue I had with my previous 4-channel Directed 500 amp.
The next upgrade after the sub was the front speakers. I replaced my old entry-level JL Audio TR570-CX 5x7" front coaxials with Alpine R-S68 6x8" coaxials with pivoting tweeters. It's nice to finally have a proper 6x8" up front with a wider and taller cone surface, and the pivoting tweeters are nice considering I didn't want to spring for components and figure out where to mount the component tweeters.
For 24 years, I used posterboard-backed foam rings that I cut to seal the gap between the TR570-CX's basket and the Ford speaker mount adapter.
Can I hear a difference? Sort of. The highs did seem to be a little more detailed, but I don't do much critical listening in the car anymore and I didn't do an A/B comparison that would have been interrupted by a few minutes of swapping speakers anyway. I was satisfied with what I heard though.
After that, I removed the old pair of 18' front and rear RCA cables from my head unit to my amp and then ran new Stinger 4000 series 20' 6-channel RCA cables. The main reason for doing this was so that I could run RCAs between the head unit and the amp rather than rely on feeding the sub a speaker-level signal which I had been doing since 2012 because, again, that 8" Kicker was a temporary solution and a bit of an afterthought.

18' wasn't long enough to provide decent slack. Those RCAs were pulled tight from the back of the head unit to the middle of the rear seatback. Also, the options for a good quality set of longer 6-channel cables were slim pickings. I didn't seek out a 6-channel set initially, but I'm glad I did. It was so convenient to only pull only one run of cable behind and under the dash and under the carpet for the front, rear, and sub RCAs.
After that, I thought I had reached a good stopping point, but then I noticed intermittent output from the rear speakers. Thinking that one of them was dead after switching the "dead" speaker from the right rear to the left rear and having the silence follow the speaker, I bought and installed the Kenwood KFC-D681C as new rear speakers to replace the Pioneer TS-A6857 speakers I had previously.
Since I'm using these as rear fill with a 6 dB cut, these aren't really a big functional upgrade despite being much better quality speakers than the Pioneer TS-A6857. They are a better power match for my amp for what that's worth though. Since you can still see the speaker cones in bright sunlight through the OEM grille panels, at least they also match the interior?
Remember that intermittent output from the rear speakers though? As it turns out, present-day me is once again disappointed with past me; this time for a shitty speaker wiring job that was the real culprit of the speakers cutting out. It doesn't explain why the dead channel changed sides when I swapped the old speakers left and right, but that could have been a coincidence. I cleaned, re-spliced, soldered, and heat-shrunk the rear speaker wires on both sides of the car running to the amp.
I didn't take pictures of this process, but I did the same thing with my front speakers a few years ago. It was only a matter of time that I would end up doing the same for the rear as well. Even then, I feel like I did a much better job with the rears than the fronts that I did back in 2019, but in both cases, the old electrical tape job dates back to 2002. I guess I just didn't understand back then. I definitely didn't know anything about soldering back then and I didn't discover heat shrink tubing until 2009 when I did my home theater speaker wiring.


As far as evaluating the sound quality now, it's sufficiently more detailed up and down the audible frequency range and a lot more powerful in the bass department.
I'm sure everyone who has ever been into putting together sound systems has a song or a few songs they like to use for test listening. For me, these are my main ones:
Roxette - Listen to Your Heart
I have no recollection how this song got on my playlist in the first place, but the first time I realized how layered the instruments in the song are was when I put together my family room home theater system. I could mentally separate each instrument and follow them as if each was its own audio track. A buddy of mine who was into sound engineering once told me about how music studio mastering peaked in the '80s, and after reading how Per of Roxette explained that this song was designed to mimic an overblown American FM rock sound, I guess it makes sense why it works so well as a listening test track. Even a dummy like me can follow the instrumental details from 2:03 onward starting with the guitar solo. I've been using it to judge depth and soundstage ever since. And yeah, it sounds very detailed in the Thunderbird even though it's not as expansive as my family room due to obvious dimensional differences of the listening area.
Bassotronics - Bass I Love You
As a test track arranged in song form, I originally used this with my 15" downfiring sealed servo home theater sub, which extends down to 14 Hz. This song definitely has some deep extension that is felt rather than heard and the most impactful of it happens at 2:50 if your sub can handle it. It's the only track I've heard where I feel the bass between my ears. However, I've found it to not be very good for testing in my car because neither the 8" Kicker nor the 10" Alpine can hit the deep frequencies in this track.
Lupe Fiasco - Deliver
This song is a wall of bass with the rise and fall of the main rhythm. This is a more practical test of subwoofers than Bass I Love You and it happens to be my favorite track from Lupe's Tetsuo & Youth album. I actually wasn't sure how to judge the Alpine sub compared to my home office, which has my former 10" downfiring ported home theater sub under my desk, but the bass does sound more impressive on the Alpine versus the old 8" Kicker, as well as the 10" Kicker in the Lexus.
I think learning to better match power levels between my amp's gain controls and my speakers also played a big factor in improving the sound, as was being able to now use sub controls through the head unit by running RCAs to the amp for the sub channel.
I said in another post that what I have now in this car is easily the best sound system in the garage. I haven't even run the DEH-P800PRS's automatic EQ and time alignment yet.
That just about covers it for the core audio upgrades and you would think that I'm at a good stopping point for now, and I am. However, since I've been in the process of cleaning up previous wiring messes in the trunk, I may as well continue with this loosely organized assortment of audio upgrades. Most of my attention this year is focused on home upgrades, so I may as well squeeze in what I can with this during these winter months before the house stuff and before I can hopefully refocus later this year on the many fine details that I've already put in to planning the hub swap.
Last edited:

