- Joined
- Sep 12, 2023
- Messages
- 5,248
- Location
- Roselle, IL
- Cars in Garage
- 1
- Vehicle Details
- 1994 Cougar XR7 DOHC TR3650
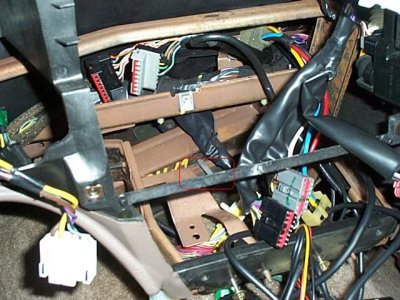
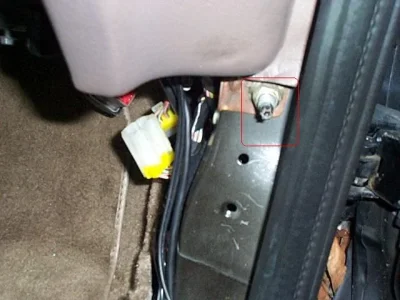
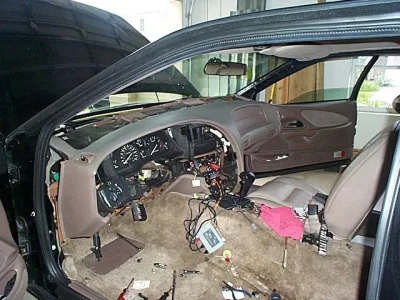
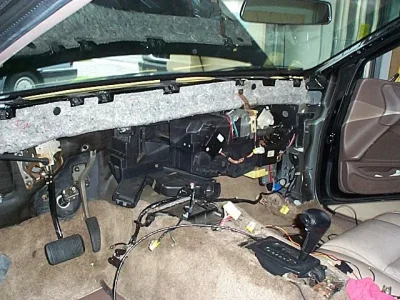
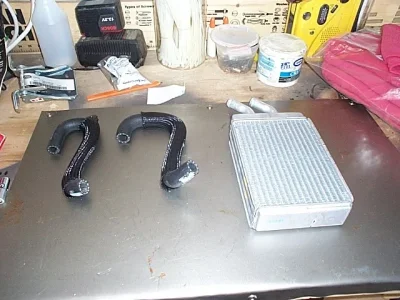
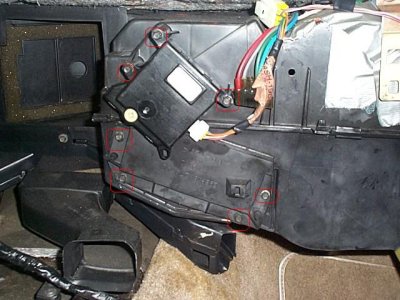
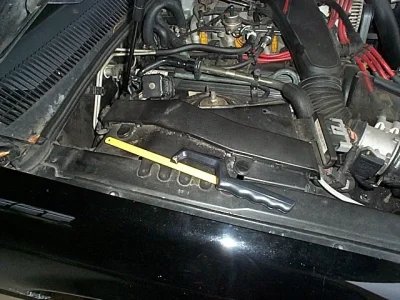
The following procedure was performed by TimB on a 1994 Thunderbird LX with Auto-Climate controls. I used the instructions provided by Sir William but felt a more in depth description of the dash removal and several photographs would help those who have never attempted something like this before. There may be slight variations depending on year and climate options. I have broken this down into two sections Dashboard Disassembly and Removal and Heater Core Removal and Replacement. One hint; since there are so many screws that get removed I find it helpful to screw them back in place a couple of turns after you remove what they are holding, this way you are less likely to mix them up.
Dashboard Disassembly and Removal
The first and most important step when removing the dash is to disconnect the battery and wait 5 minutes for the airbag battery backup to run down. Set your parking brake since you will need to move the shifter out of Park for clearance.
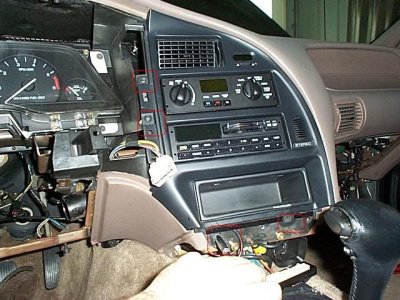
Start by removing the center console. If you lift up the lid of the console you will find 2 screws in the back edge of the console trim; remove them.
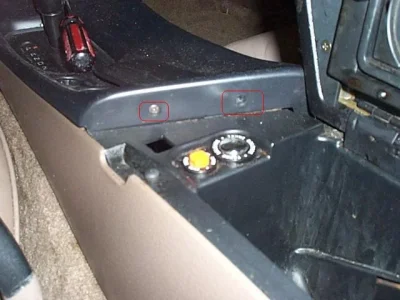
Next lift up on the console piece you just removed the screws from; there are several clips holding it in place as well as a wiring harness powering the lighter. Note the trans will need to be in 1st for proper clearance to remove.
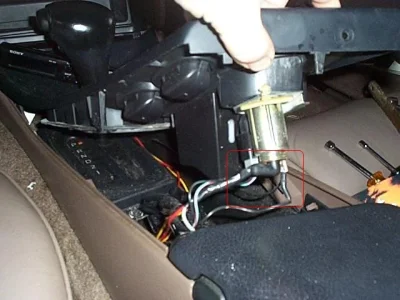
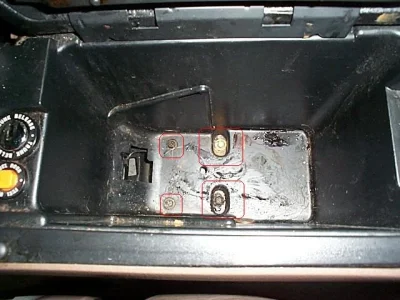
Lift the lid again and remove the rubber liner from the bottom of the storage bin, underneath you will find 4 screws; remove them.
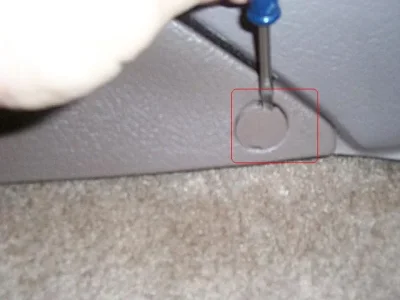
Next remove the 2 screws holding the front of the console to the dash as well as the 2 screws on the front sides of the center console hidden under the plastic caps. Last but not least remove the 1 screw in the center behind the shifter.
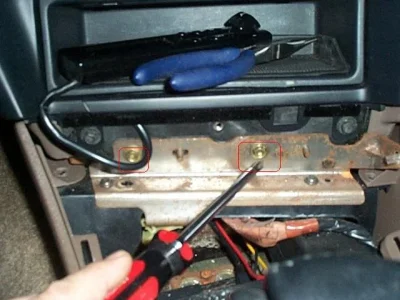
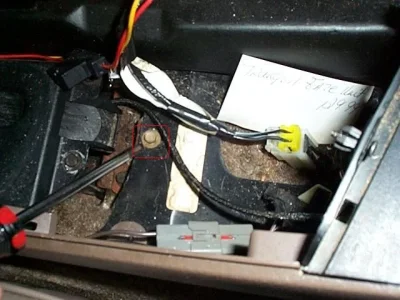
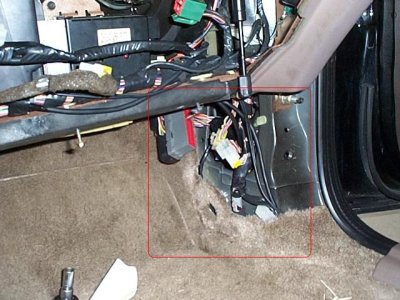
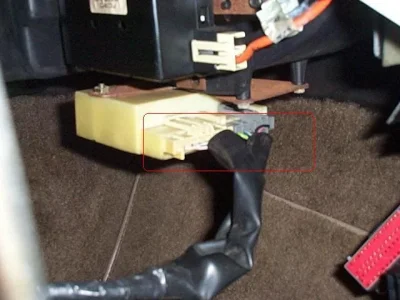
Next disconnect the wiring harnesses that power the trunk release, gas cap release etc.
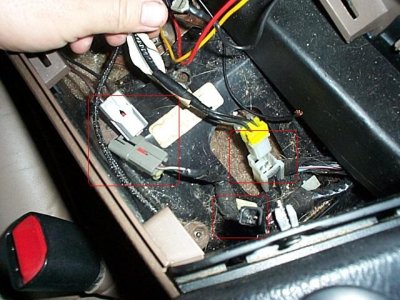
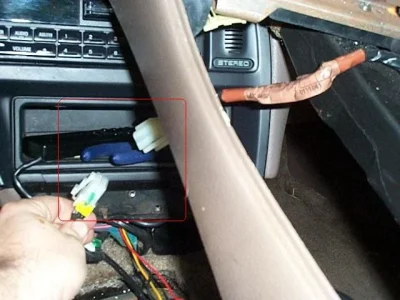
Lift console out and set aside.
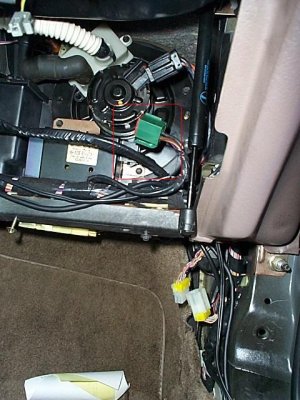
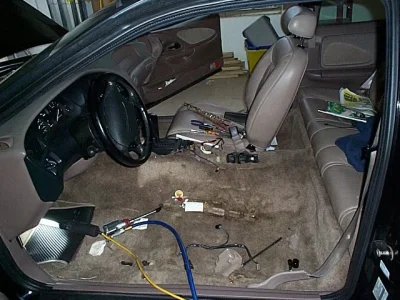
For the next steps I found it easiest to first remove the drivers seat. There are 4 bolts holding the seat track to the floor.
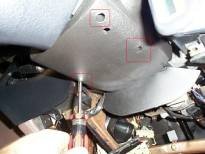
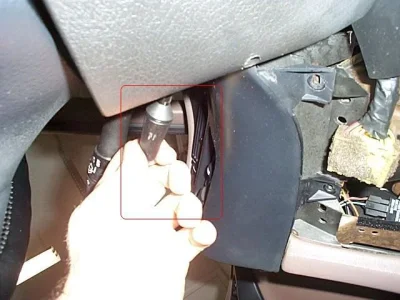
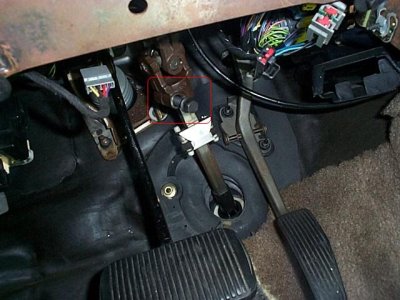
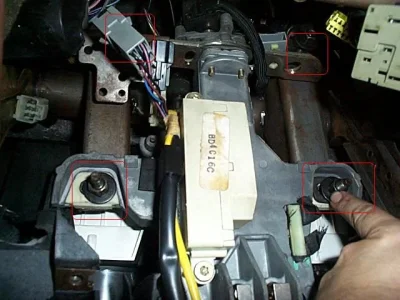
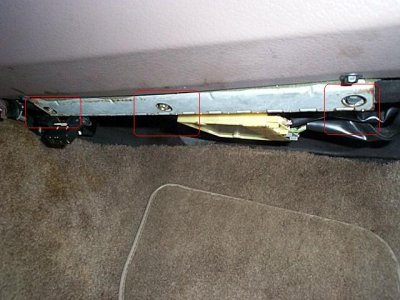
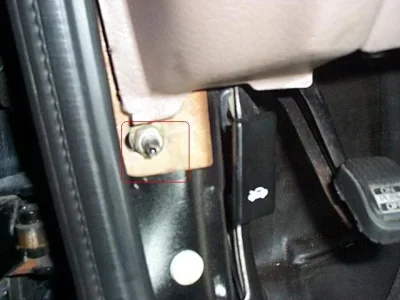
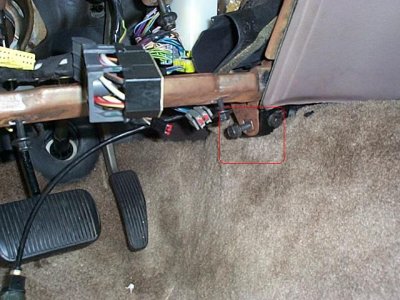
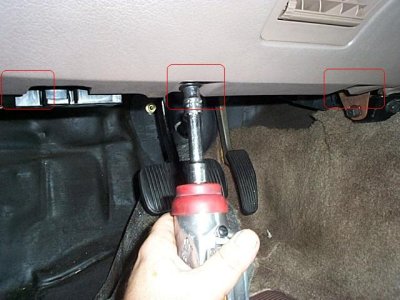
Remove the panel under the steering column; it is secured with 3 bolts at the bottom and clips at the top. Once you have the bolts removed pull the panel back toward you not down.
Dashboard Disassembly and Removal
The first and most important step when removing the dash is to disconnect the battery and wait 5 minutes for the airbag battery backup to run down. Set your parking brake since you will need to move the shifter out of Park for clearance.
Start by removing the center console. If you lift up the lid of the console you will find 2 screws in the back edge of the console trim; remove them.

Next lift up on the console piece you just removed the screws from; there are several clips holding it in place as well as a wiring harness powering the lighter. Note the trans will need to be in 1st for proper clearance to remove.

Lift the lid again and remove the rubber liner from the bottom of the storage bin, underneath you will find 4 screws; remove them.

Next remove the 2 screws holding the front of the console to the dash as well as the 2 screws on the front sides of the center console hidden under the plastic caps. Last but not least remove the 1 screw in the center behind the shifter.


Next disconnect the wiring harnesses that power the trunk release, gas cap release etc.


Lift console out and set aside.
For the next steps I found it easiest to first remove the drivers seat. There are 4 bolts holding the seat track to the floor.

Remove the panel under the steering column; it is secured with 3 bolts at the bottom and clips at the top. Once you have the bolts removed pull the panel back toward you not down.

Last edited by a moderator:

