The DIY Home Improvement Thread

Is the stucco smooth under the paint? Reason I ask, is some is very textured, and you couldn't apply enough glue to make anything stick. Basically a flat surface, with a lightly sanded finish is best to apply anything to. Make sure to scrap any loose paint completely of before you sand. Any loose paint could be an area that loosens over time and allows your work to be foiled.

Yes, it's smooth stucco. It's got a sandy texture, but otherwise smooth compared to "splatter style" stucco.

After removing the paint layer, I was planning on taking my angle grinder and do "long swoops" lightly to the stucco to roughen it up a bit.

It depends on what system was installed. generally there is a masonry outer layer applied on a concrete block or cast conc wall. If it is the sanded mortar over styrofoam aka EIFS then that is a different game. I would not apply heavy veneer over EIFS as it can crush the styrofoam. It is possible to attach support angle to inside structure but it pierces the seal and is inviting trouble.

My house was built in 1960 and doesn't have any styrofoam stuff.

I guess what I'm trying to figure out is if I need to apply a lathe later to the stucco itself or if it can just go straight onto the stucco after removing the paint and some slight roughness added.
 
Yes, it's smooth stucco. It's got a sandy texture, but otherwise smooth compared to "splatter style" stucco.

After removing the paint layer, I was planning on taking my angle grinder and do "long swoops" lightly to the stucco to roughen it up a bit.


My house was built in 1960 and doesn't have any styrofoam stuff.

I guess what I'm trying to figure out is if I need to apply a lathe later to the stucco itself or if it can just go straight onto the stucco after removing the paint and some slight roughness added.
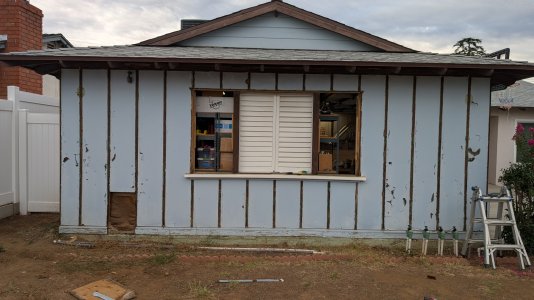
If it were me I would get a wire cup and roughen up the wall to open the pores. But some of the expanded metal lathe and some metal roofing nails to fasten to the wall will work great (except for mashing fingers holding the nails). That is how me and Dad did rock veneer back in the day. I would guess that the roofing nails won't go in well so some hardened concrete nails will be in order. Believe it or not the masonry when spread on the wall will bond very well. We used the lathe on plywood and then rock w/ mortar and as far as I know it is still intact and that has been 20-30 years.
 
Id use a random orbital sander with 60 grit sandpaper to rough it up. I would not use an angle grinder as it may be too abrasive. The Bauer brand at HF is actually not bad and cheap enough to throw away after the job is complete.
 
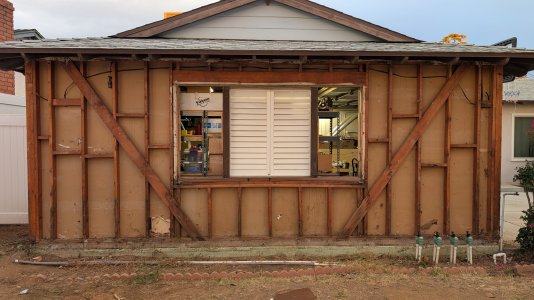
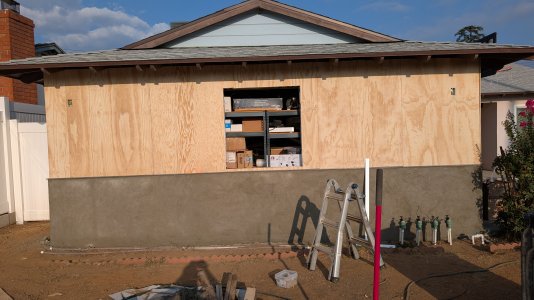
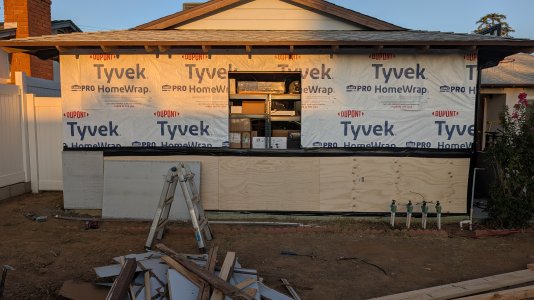
Just going to put up the two side panels on either side of the window and clean up a little bit and call it a night. I'll pick up tomorrow morning with nail removal and move forward from there. I hope to have this project done by Wednesday.


1000001695.jpg

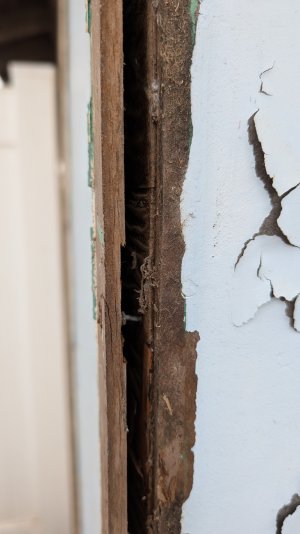
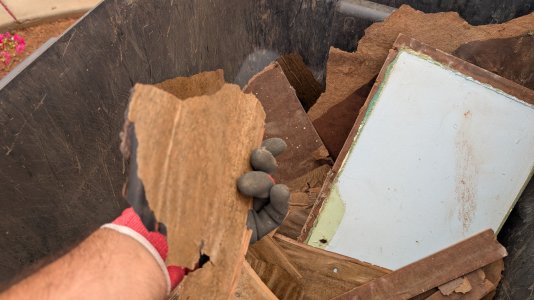
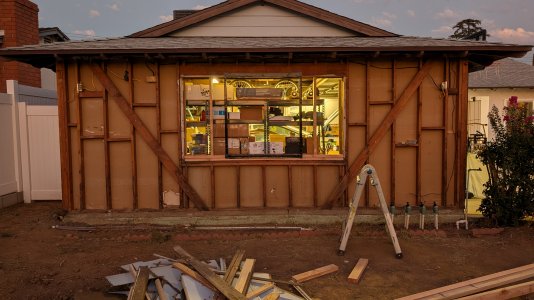
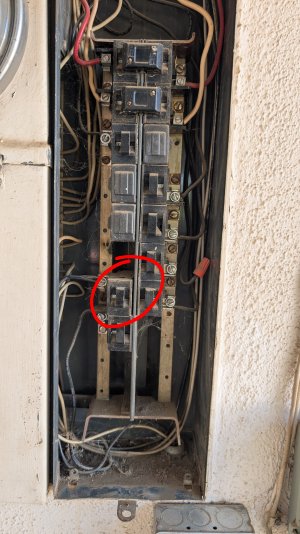
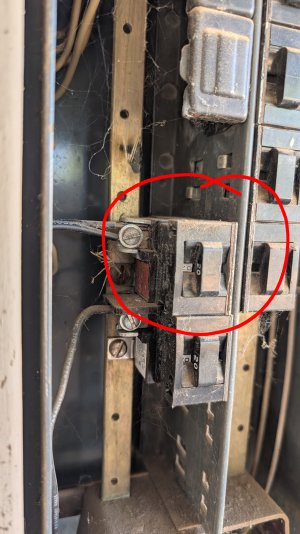
Oh, and I'm pretty sure that the original weather resistant tar based wrapper is also asbestos lined.

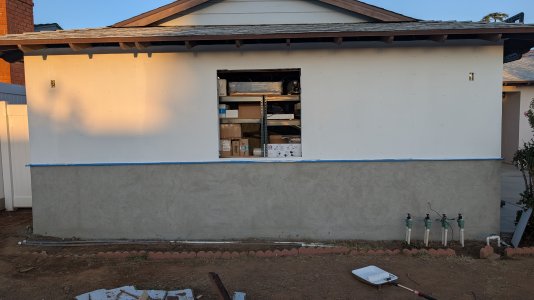
1000001697.jpg
 
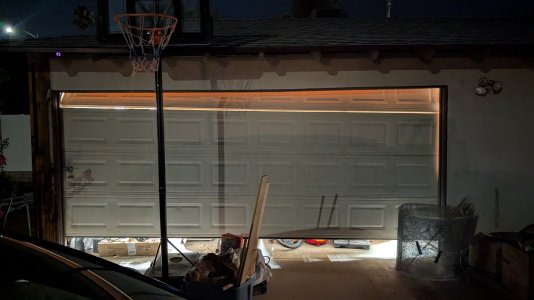
Didn't get far today. Did the nail removal, began to rewire my exterior lights to have gang boxes, and add an outlet on the side of the house for whatever (like Christmas lights). Then I left for Home Depot for additional materials, and my garage door broke. The spring roller thing snapped and the cable wire came undone. In my efforts to try and close the door, I think the door fell off the tracks. Now I can't get into my garage at all. So my exterior wall project is on hold until the door gets fixed 🫠.

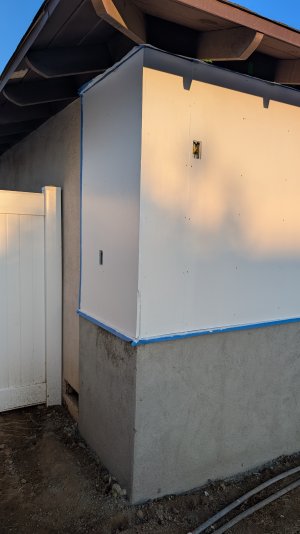
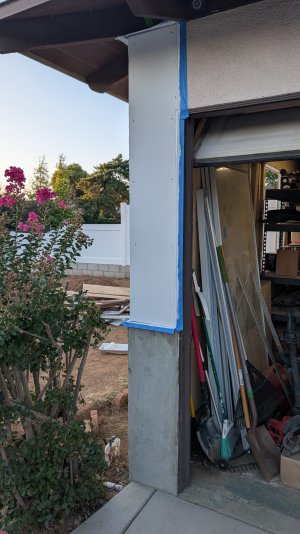
1000001705.jpg

1000001706.jpg
 
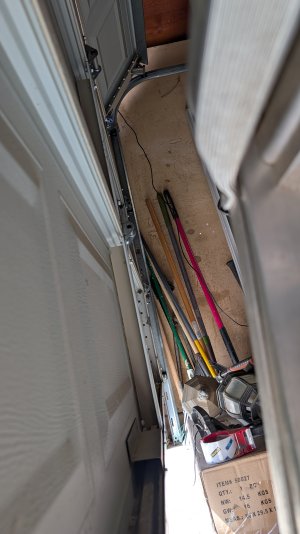
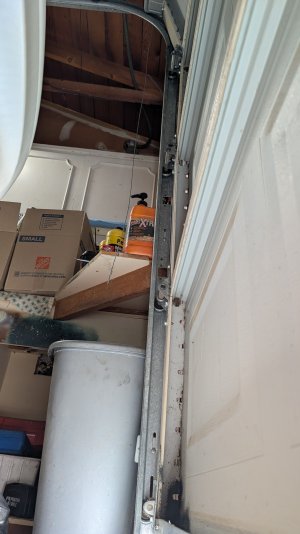
I've pretty much lost a whole day waiting for my garage door guy to show up and he just texted me asking if I can wait for tomorrow. But I did take more pictures. Risking the door falling on my neck and - at a minimum crushing my wind pipe - took some pictures of the inside! 💀

Looks like the door is still on the rollers, so that's good news. Just need to figure out how to open the door without any super human strength....

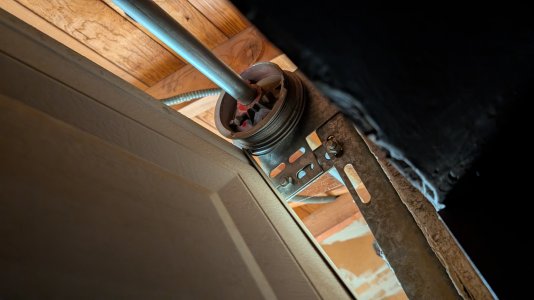
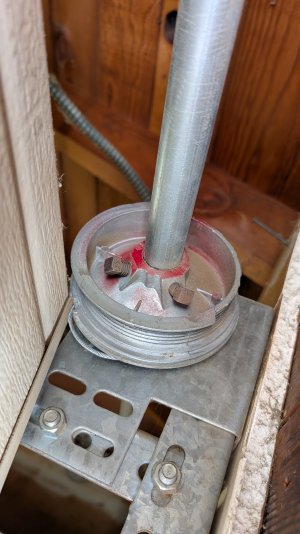
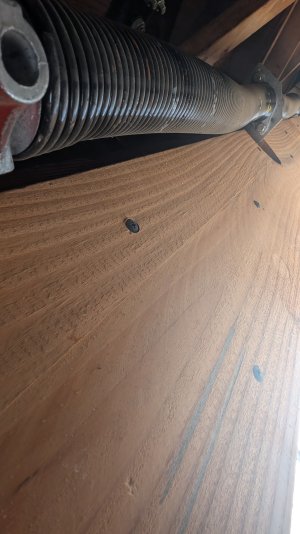
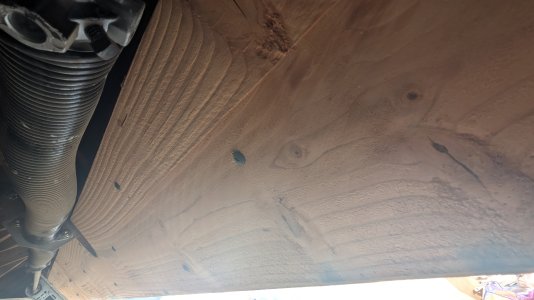
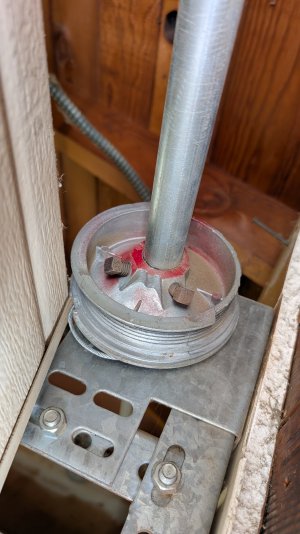
Close up of the broken spool. Notice the outside lip of said spool is missing on about half this spool.
1000001710.jpg

Door still on the rollers, so happy news there.
1000001713.jpg

You can see the cable just dangling from the broken spool thing here.
1000001712.jpg
 
The cable goes to the opener; the spool has a big ass spring that balances the door weight. Either the cable or spring broke. Seeing the cable loose, it may be broke. If the spring is intact, the door should open easily.
Mine is chain driven, and has a handle that I can pull, to raise the door.
 
The cable goes to the opener; the spool has a big ass spring that balances the door weight. Either the cable or spring broke. Seeing the cable loose, it may be broke. If the spring is intact, the door should open easily.
Mine is chain driven, and has a handle that I can pull, to raise the door.

The spring appears to be fine. The cable is from that spool thing. I took off the cable yesterday because the cable kept falling off the track of the spool. I thought that the door would be heavier to open on the right side as the cable coming from the spool was no longer connected. And up on closing the door, that's when it got stuck.

Earlier today I tried to use the floor jack out of my Honda to try and lift / force the door up, but it looked like it wanted to bend, so I noped out of that move.

1000001715.jpg

1000001716.jpg
 
My garage door guy came over last night, and 45min later, my door was working again! Tomorrow (Today, really), I'll get back on my wall and hopefully make good progress. Let's find out!

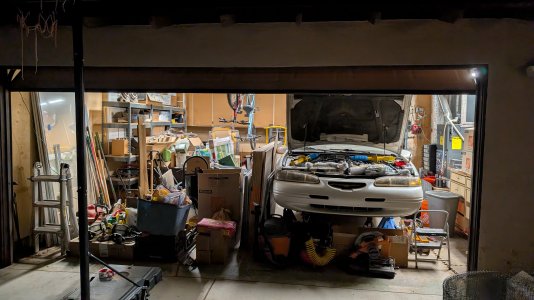
Aside from my project materials, I have too much damn shit in my garage right now. That part was a bit embarrassing.

1000001718.jpg
 
So what was the end result on what needed to be fixed?

Joe
 
So what was the end result on what needed to be fixed?

Joe

I kept calling these things "spools" because that's what they look like. They're in fact called drums. And the one was bad but they need to be replaced in pairs. He also gave me new cables to go with the drums and also added lube to all the wheels in the track.

In this picture below, you can see that half the drum lip is broken off, and as a result the door alignment came off resulting in the door getting caught on the drum.

He recommended that I replace the spring sooner rather than later, so I'll be doing that as well. And he has the hookups on garage door motor too. So I'll get that alongside the springs, lol

1000001710.jpg
 
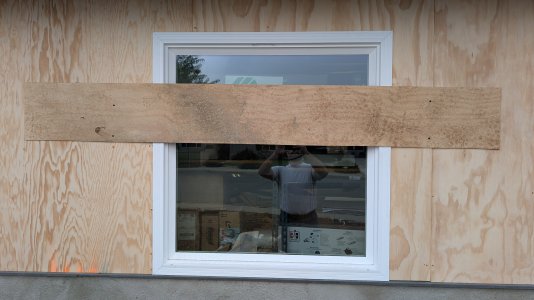
Later today I'll be buying primer, paint, and wood for decorative purposes. But I still need to figure out how to install this fixed window. All the other windows I've installed had a rail I could remove on the inside and used that to screw the windows on place then I put the rail back on.

This window however, doesn't have that rail so I don't know how I'm supposed to install this window. The few videos I've seen are not what I'm looking for, it's all stuff I already know.

For now, it's just jimmy-rigged installed on a temporary basis as you guys see here.

1000001739.jpg
 
Later today I'll be buying primer, paint, and wood for decorative purposes. But I still need to figure out how to install this fixed window. All the other windows I've installed had a rail I could remove on the inside and used that to screw the windows on place then I put the rail back on.

This window however, doesn't have that rail so I don't know how I'm supposed to install this window. The few videos I've seen are not what I'm looking for, it's all stuff I already know.

For now, it's just jimmy-rigged installed on a temporary basis as you guys see here.

View attachment 14815
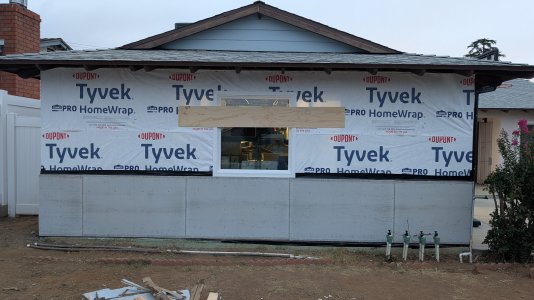
Is this exactly as the window came, or did you add trim around it? Usually there is a thin flashing around the entire thing you can screw through. Then you put the tyvek over that and use the tyvek tape to seal it from moisture. Do you have the tyvek under the plywood?
 
Is this exactly as the window came, or did you add trim around it? Usually there is a thin flashing around the entire thing you can screw through. Then you put the tyvek over that and use the tyvek tape to seal it from moisture. Do you have the tyvek under the plywood?

Yeah, tyvek is under the window. Below the tyvek is black liner stuff.

1000001725.jpg

1000001730.jpg
 
Yesterday was a day of rest after Friday's grueling day of getting shit done (post #164 above). All in all, I lost 4 of my 9 days off for whatever reasons. Despite that, I made tons of progress in the 5 days I did get work done. But if we want to be technical, yesterday, my wife and I did choose colors for the house and got the primer. So technically, to a degree, yesterday was still a productive day.

Today's work consisted of a bunch of random shit after a late start due to morning water falling out of the sky. Like, seriously, we had rain this morning until 10am 🤣. The biggest accomplishment from today was figuring out how to install that damn window and getting the upper half primered.

1000001775.jpg

1000001776.jpg

1000001777.jpg

At this very minute, it's sunset and the likelihood of finishing up with paint is very minimal as I need to wait another 30 minutes or so per the primer's instructions. That said, I am tempted to just paint around where the window will get installed so that I at least can get the window installed properly instead of the temporary installation I've been doing this whole time.

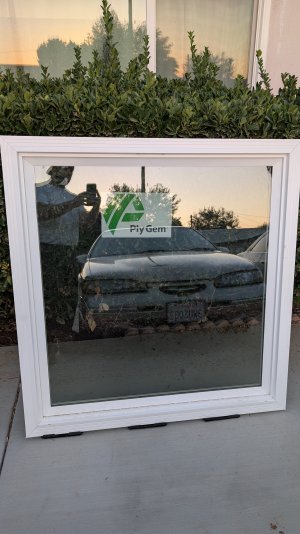
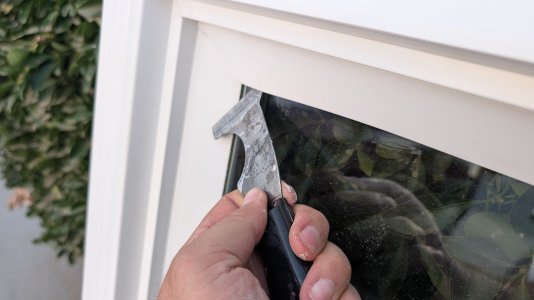
The window has this lip that goes all around the border. You are able to partially peel back that lip giving you enough room to slip a drill and a screw passed the lip to secure it in place.

1000001778.jpg

1000001779.jpg

And no, Ply Gem wasn't my first choice in window manufacturer, it was Milgard. Unfortunately, Milgard had a lead time all the way out to November when I placed my order whereas Ply Gem was just under 3 weeks.

Next weekend will just be to get the stone up on the bottom half, get the decorative wood strips up, and get up the lights. That will bring this project to 100% completion.
 
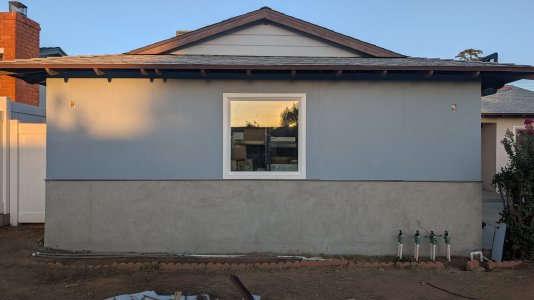
1st coat of paint is up and so is the window. No picture of that. I'll take one tomorrow when I get home from work....or maybe when I leave for work in the morning.
 
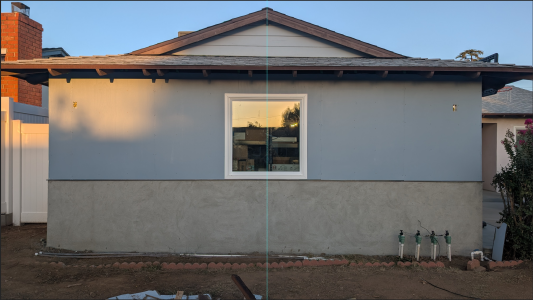
Is it just me, or does the window look off-center?

I measured the wall and got its center and same for the window. It should be centered, but looking at the picture, it looks like it's slightly off to the right. Maybe it's just the slight angle of my picture?
 
Is it just me, or does the window look off-center?

I measured the wall and got its center and same for the window. It should be centered, but looking at the picture, it looks like it's slightly off to the right. Maybe it's just the slight angle of my picture?

It looks slightly off to the left to me so I’d say between our equal pickiness it’s dead center 😆
 
Cool, so it is just me. Maybe I am just getting old 😅
 
It's left, and to me the top leans left. How's your level? Lol
 

Similar threads

Back
Top