The DIY Home Improvement Thread

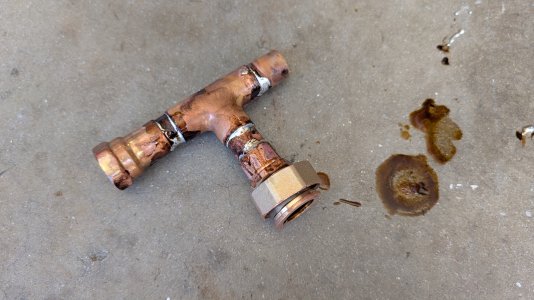
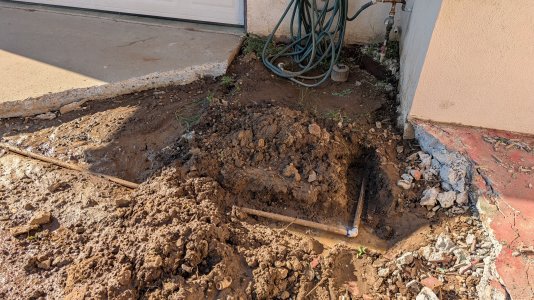
Starting with this, this was supposed to be a simple 2min job. Easy, spin off the old bib spin on a new bib. Why? It was leaking. I replaced the gasket about a month ago, and all it did was make the leak worse. Easily a gallon of water every 15min.

So, I go spin it off and all what happens is it breaks the solder joint and now it's leaking from the "T". Off to Home Depot I go! I get new hardware solder my joints and go to remove the old stuff. The old shit DIDN'T WANT TO COME OFF!!!

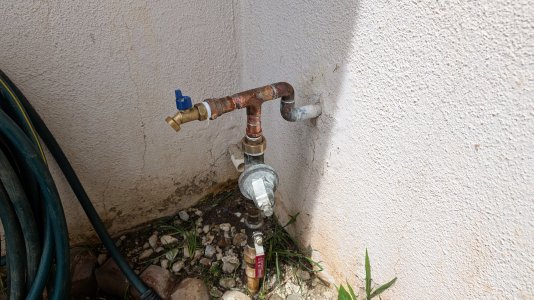
I legit spent at least an hour trying to pull the old copper pipe out from the 90* nub. Eventually, I did get it out. I sanded everything down, and installed all the new "T" stuffs. It fights me a little bit, but I eventually get it all on, turn on the water, and it's leaking still 🤦‍♂️!! Albeit, the leak is now at the disconnect above the water pressure regulator. The leak is also more of a slow drip than a persistent trickle like it was before at the bib.

Basically, I need to revisit this and get it fixed right. Probably next weekend. I had more stuff to do. I'm thinking maybe it needs a new regulator anyway. It's already 10-ish years old.
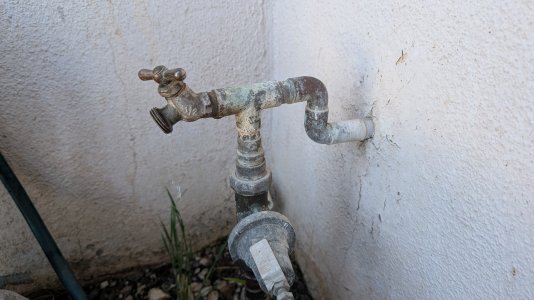
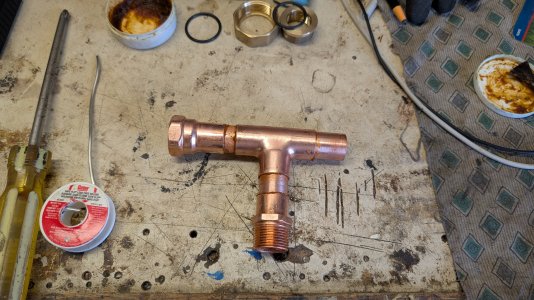
1000000617.jpg

1000000618.jpg

1000000619.jpg

1000000621.jpg
 
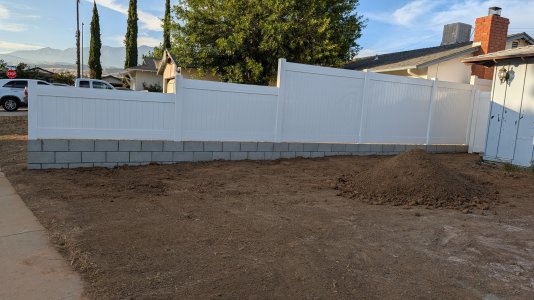
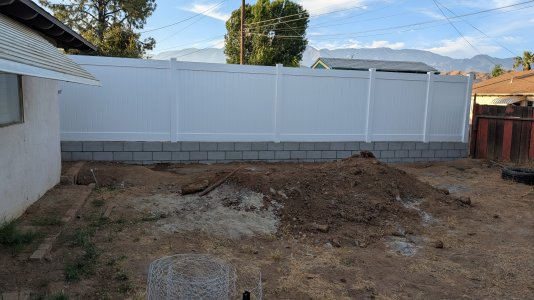
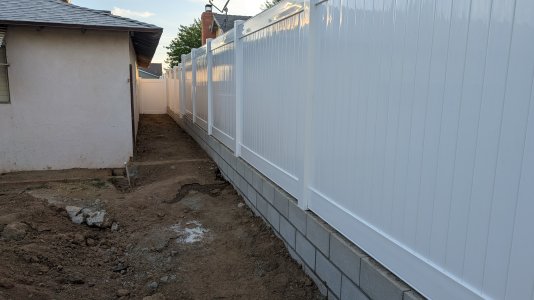
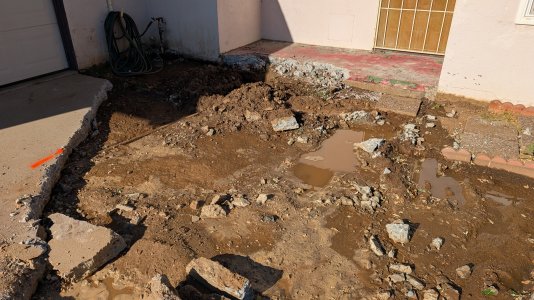
This one here, while not technically "Home Improvement", I will still be using the leftover dirt for a planter in my front yard I've previously mentioned. How much of this dirt will use? I don't know. I have lots more dirt in the backyard that I can use should this not be enough.

Anyway, I asked him to leave some of the dirt behind for the planter plans. In said diet pile, I saw some decorative bricks sticking out that I told him to chuck. While he did take most of it, some of it was still left behind and it was left in the dirt pile. I spent the last hour and a half or so digging it all out of the pile and making a new pile as a result. This makes me think of he cut corners somewhere else now.... 🤔

I can't attach the debris pile picture because it says it's too large.... @XR7-4.6 , @theterminator93 , @Trunk Monkey

1000000625.jpg

1000000626.jpg

1000000627.jpg

1000000628.jpg
 
Attachments have a maximum size of 5M. My recommendation is to try to save it as a JPG with higher compression, or maybe as a lower res file.
 
the leak is now at the disconnect above the water pressure regulator.

Ita also called a Union. Disconnect refers to a quick release fitting like on an air compressor. Put pipe dope on the flange face ( male end ) .. and sometimes i like to put a dab on the back of the flange face where the nut rides.

So, I go spin it off and all what happens is it breaks the solder joint and now it's leaking from the "T".

Use a backup wrench when possible while removing threaded connections.

Also .. they do make street fittings like the 90 90 at your POC .. use a FIP x street at the hose bib to eliminate one solder joint. Less joints equals less potential for leaks. 😉
 
Last edited:
Ita also called a Union. Disconnect refers to a quick release fitting like on an air compressor. Put pipe dope on the flange face ( male end ) .. and sometimes i like to put a dab on the back of the flange face where the nut rides.

Thanks for the lingo update!

I don't have any pipe dope, so I used Teflon tape on the male threads of the union.

Use a backup wrench when possible while removing threaded connections.

Backup wrenches? Not sure what you mean here.
 
I don't have any pipe dope, so I used Teflon tape on the male threads of the union.

Never use Teflon tape on the threaded nut for the union .. that may be the source of your leak. You want the nut to tighten down so the flange faces make a mechanical seal. Pipe dope is commonly used on the flange faces / back nut .. but not always necessary and never used on the threaded part of the union nut.

Tape would only be used on the male threaded parts that thread INTO the union but not on the union itself.

Backup wrenches? Not sure what you mean here.

One wrench on the hex side of the copper fitting and one wrench on the hose bib.
 
I'll revisit the union joint thing this coming weekend then. I won't be able to do anything about it tomorrow.

Thanks for the info!
 
Another thing I noticed .. your Red handle isolation valves ( not lead free ) .. and typically is installed Before the lowermost union so you can isolate the regulator and remove it.
 
Another thing I noticed .. your Red handle isolation valves ( not lead free ) .. and typically is installed Before the lowermost union so you can isolate the regulator and remove it.

Explain to me like I'm 5 what this means, lol.
 
Explain to me like I'm 5 what this means, lol.

The isolation valve would go directly on the pipe coming out of the ground. The white handle valves are lead free - the red handle valves are not. The isolation valve will shut off the water coming in to the regulator. The union would be installed between the valve and regulator to make it removable without shutting off the water at the street. Doesn't matter if you dont plan on replacing your regulator any time soon.
 
Sounds like you're saying I need to replace the valve though as my red handle valve contains lead?
 

Similar threads

Back
Top