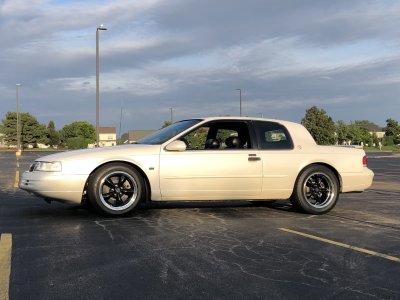
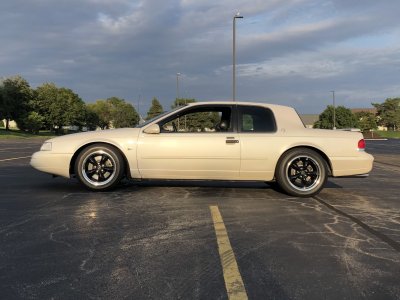
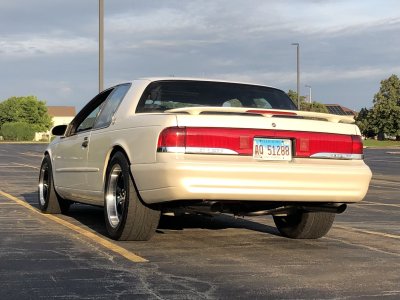
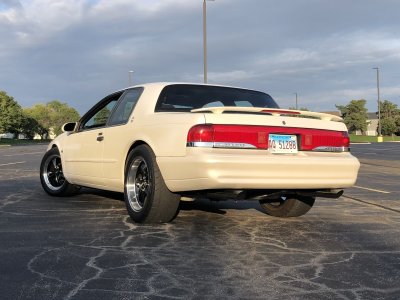
XR7-4.6’s disjointed build thread 2 Electric Boogaloo

You mean this lil square hole?? I just snapped this right now. My 97 didn’t have that. I don’t have it all the way down because the boost vacuum line pushes the pod up a bit and I don’t want pinch it, it supposed to sit flush with the key hole cover.

The pod kit comes with double sided tape to secure it down.


View attachment 13405

That’s super helpful, I hadn’t seen that angle of it before. I hadn’t quite grasped that it just sits on top on the stock shroud piece where it effectively acts as a blank for that hole. I just noticed that hole might be even there looking at the sample pics.

I might need to send @1997ThunderbirdLXV6 on a mission for a key release lever/shroud from a SN95 if I go through with this lol
 
Yea pretty much it just lays over the stock piece, like a cover. Super easy install also. Good luck! It’s a pretty sweet piece to be honest. Right in the line of sight, but like I said it mainly just blocks the lower half of the RPM, from about 2k and up it’s fine. Driving normal your don’t even see the needle move haha
 
Yea pretty much it just lays over the stock piece, like a cover. Super easy install also. Good luck! It’s a pretty sweet piece to be honest. Right in the line of sight, but like I said it mainly just blocks the lower half of the RPM, from about 2k and up it’s fine. Driving normal your don’t even see the needle move haha

Also keep in mind I have the earlier cluster so the tach is bigger and possibly more out of the way.
 
I might need to send @1997ThunderbirdLXV6 on a mission for a key release lever/shroud from a SN95 if I go through with this lol

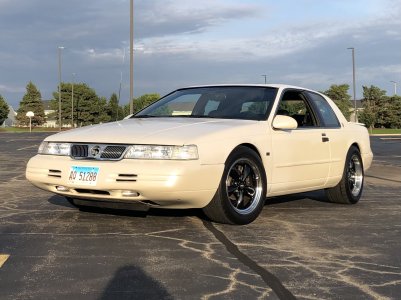
If i could find my old one ( I deleted that annoying lever on my SC ) .. but the MN12 factory shroud, Im pretty sure they were cut by hand on the assembly line. 😬
 
If i could find my old one ( I deleted that annoying lever on my SC ) .. but the MN12 factory shroud, Im pretty sure they were cut by hand on the assembly line. 😬

Thinking about it further the shroud wouldn’t even be necessary, I could hideously butcher a hole into one of my spares and you’d never see it since this aftermarket one would just cover it anyway.

The lever I just would want to give the hole a purpose, if I can just put it in place without it actuating a key release that would be fine. Kind of like how I wired up the clutch switch exactly to factory spec but jumpered the starter wires because pushing in the clutch to start is inconvenient.
 
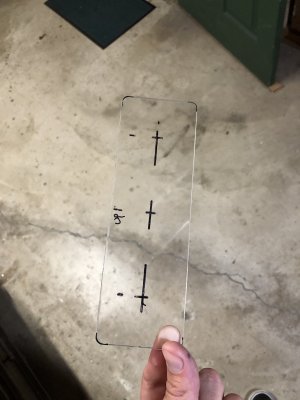
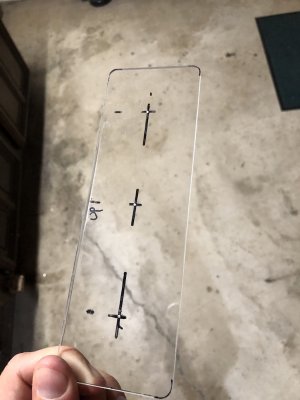
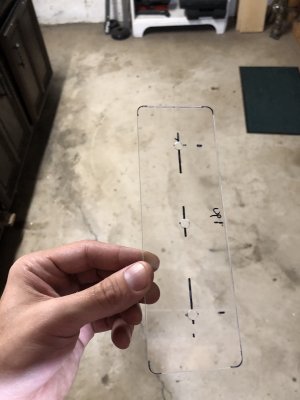
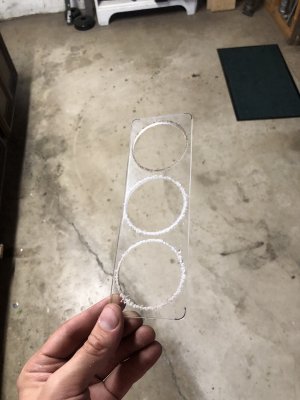
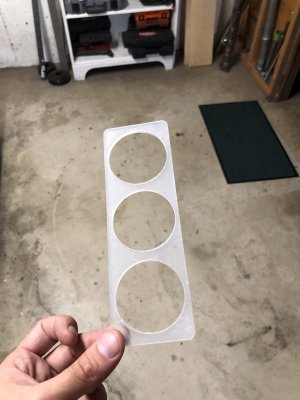
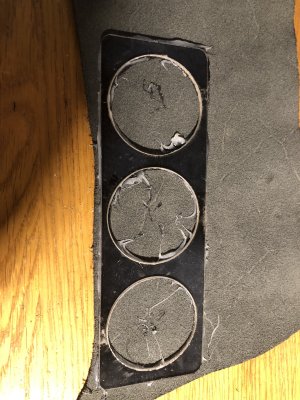
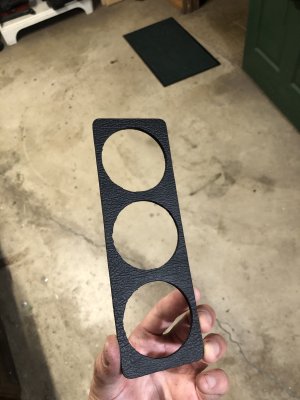
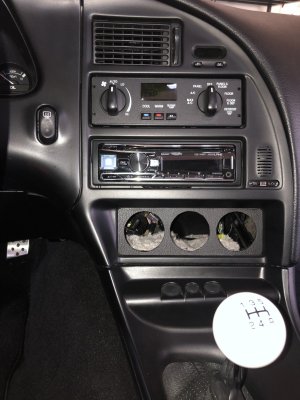
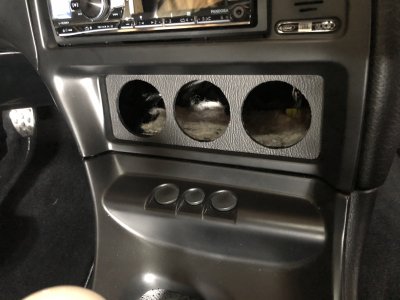
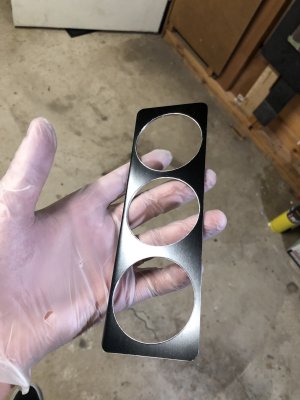
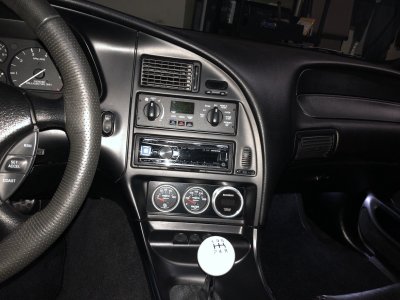
Well getting the dedicated wideband gauge opened up a can of worms. I wasn’t feeling the column pod with it so instead I’m going with the good old 3 gauge in the lower DIN arrangement since I don’t use the cubby there much since putting in the 97 cupholders, which of course means I need 2 more gauges lol(ordered them Monday and are still in transit, annoyingly). Anyway I whipped up a bezel real quick today with what I had lying around, in this case acrylic and leather.

IMG_7291.jpegIMG_7292.jpegIMG_7293.jpegIMG_7295.jpegIMG_7296.jpegIMG_7299.jpegIMG_7321.jpegIMG_7322.jpegIMG_7324.jpeg
 
Love it!

Except...two things:
  • I like leather, but in that specific spot, I'm not sure I like that texture.
  • I'd prefer it thicker, so that it sits more flush with the bezel, like the cubby.
 
Love it!

Except...two things:
  • I like leather, but in that specific spot, I'm not sure I like that texture.
  • I'd prefer it thicker, so that it sits more flush with the bezel, like the cubby.

Keep in mind the gauges are going to sit on top of it and their bezels protrude out a good 3/8”. The gauge bezels are also about 3/16” bigger than the holes so a lot of it will be covered by them anyway.

I do have another desire for it up my sleeve but this was free and that won’t be lol
 
I bought a powered usb hub to go with my wb. I'm putting an old school +-100A ammeter/voltmeter in the third spot. It's going to monitor the amp.
 
I bought a powered usb hub to go with my wb. I'm putting an old school +-100A ammeter/voltmeter in the third spot. It's going to monitor the amp.

I don’t trust ammeters personally, they’re way more informative than voltmeters but there’s so many horror stories I just don’t trust them to not burn my car down. Same with mechanical oil gauges and their failure mode of spraying hot oil everywhere in the interior before the bearings are smoked.


Anyway true to the thread title I’m no longer putting the wideband gauge in there. The water temp gauge arrived today and though it matches in distance they do not match well right next to each other… nevertheless I’m sticking with the plan since I’ve always wanted to put gauges there and bought a voltmeter in its place literally just now and probably regressing back to the column pod for the WB that spurred this side project on in the first place lol
 
So what gauges are you putting in the bottom??

I have the glow shift boost gauge up top, AEM AFR, glow shift water and oil pressure gauges on bottom. Both digital because I didn’t wanna worry about they shit busting behind the dash haha
 
So what gauges are you putting in the bottom??

I have the glow shift boost gauge up top, AEM AFR, glow shift water and oil pressure gauges on bottom. Both digital because I didn’t wanna worry about they shit busting behind the dash haha

The usual combo, Oil, Water and Volts (all electric type), haven’t decided the order yet. As for the gauges themselves I went with AutoMeter Sport Comp IIs.
 
Nice nice, I went with the glow shift because I dig how I can set them to green and match the dash lights. Not sure how accurate they are compared to autometer tho.

View attachment 14026

That’s the compromise with the autometers since their backlit ones only can light up white(normal ones have color films for the removable bulbs but are front lit which I’m not a fan of in a modern car). They’ll match the zeitronix gauge though which also illuminates white at least.

I might still put it there in the same arrangement as yours though, I’m still toying with things
 
@XR7-4.6 I like the white lights, they have a super clean look. Whatever route you choose I’m sure it’ll be legit. I wasn’t a fan of the Pilar mount, it’s too much of a burn driving down the road.
 
@XR7-4.6 I like the white lights, they have a super clean look. Whatever route you choose I’m sure it’ll be legit. I wasn’t a fan of the Pilar mount, it’s too much of a burn driving down the road.

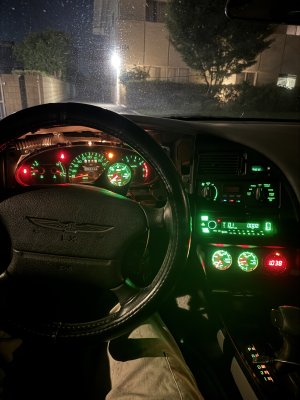
Yeah and that’s part of what turns me off about the column pod with the bright white undimmable wideband right in front of my face on a night drive was what got me rethinking the layout. Down in the lower din as I loosely moved it to was glancingly informative enough in the periphery but not distracting.

I agree white is neutral which is why I picked it from the three(not green) zeitronix options. I’d prefer it matches but being a purposeful aftermarket gauge I’m ok with it, same with the autometers with it, gave me an excuse to add them because the cluster water and oil gauges(even with the mod) I don’t find informative/trustworthy in the slightest
 
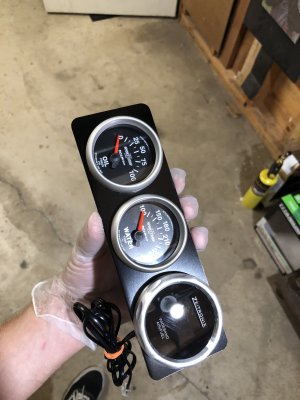
As promised (after attempt 3 lol). Since only this afternoon the damn oil gauge finally came in the mail, I decided I agreed with @1997ThunderbirdLXV6 about the leather texture being off in the area. Not content with just any old satin black background however, I went with anodized brushed aluminum!

IMG_7375.jpegIMG_7376.jpeg
IMG_7380.jpeg

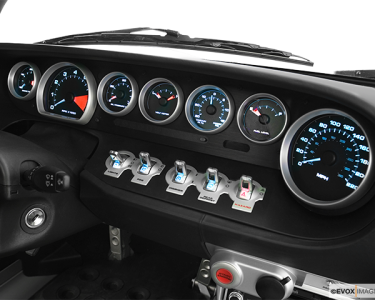
Inspired by the 05 Ford GT dash(screw LCD screens!)

IMG_7367.png
 
Last edited:
As promised (after attempt 3 lol). Since only this afternoon the damn oil gauge finally came in the mail, I decided I agreed with @1997ThunderbirdLXV6 about the leather texture being off in the area. Not content with just any old satin black background however, I went with anodized brushed aluminum!

View attachment 14098

I'm interested in this, specifically the coolant temp gauge because of the stuff I've been going through.

Could you point me to information on how the temp pod hooks up, please?
 
I'm interested in this, specifically the coolant temp gauge because of the stuff I've been going through.

Could you point me to information on how the temp pod hooks up, please?

Yep, I just happened to looking at this article trying to find info on the oil pressure fitting size, pretty much has you just plug into the block drain (which is where I have my current cluster sender mounted, annoyingly) alternately you could disconnect the stock sender and put it in place of it and just live with the cluster gauge not doing anything


Similar threads

Back
Top