XR7-4.6’s disjointed build thread 2 Electric Boogaloo

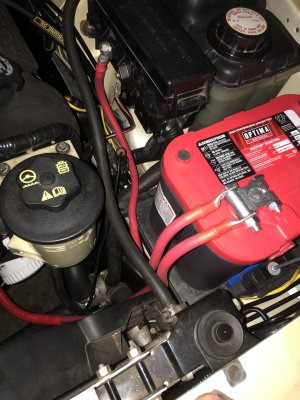
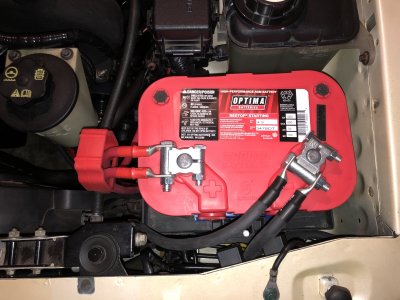
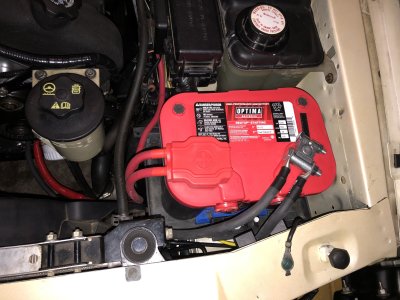
Didn't I send you that battery tray...over a year ago?

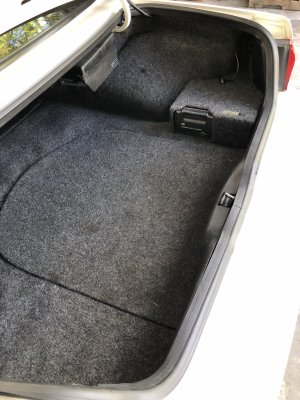
Fun fact: my roommate's Cadillac ATS comes stock with the battery in the trunk. One time, he disconnected it to clear a code which my app refused to clear for some reason; and then he closed the trunk! And there's no way in without power; base ATS without folding seats. We had to use jumper cables on the terminals under the hood just to open the trunk.

It's great that you could repurpose that firewall passage. I had the same luck: the original owner had a cable-operated supplemental hood latch, but the key was missing. I used that passage for cornering light/DRLs.

Probably, as you can see this wasn’t a hasty plan 😆

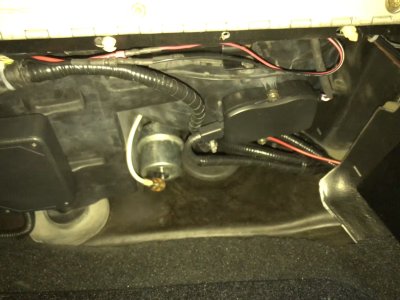
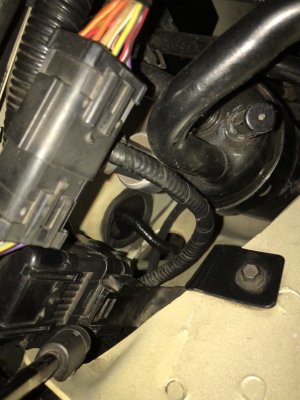
This is actually technically the third repurposing of that hole as it from the factory was the ABS sensor wire passthrough…. Which I also deleted… but before I deleted ABS entirely I rerouted all the ABS wiring through the PCM harness on the passenger side to clean up the firewall, which conveniently gave me a spot for the battery cable to go when that came to fruition.

The Cadillac situation is how it is in my mom’s Prius V. The starting battery went dead on it and in order to open the tailgate to get to it you have to jumper the leads in the engine compartment.
 
Is it true that only the factory cd player had those controls? You'd need one of those to figure out the communication protocol, but a "bus pirate" would do it. Then a pic controller to do the actual talking to the changer.
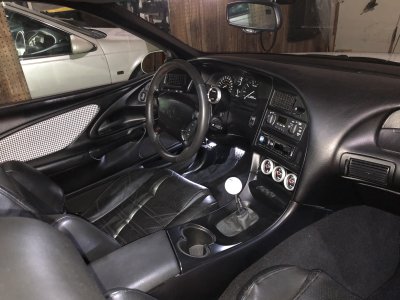
But, a 256gb usb drive holds 10x what the changer does. Doesn't your Alpine do FLAC?

Actually only the factory cassette deck has the changer controls. The changer harness physically plugs into the factory CD player but it doesn’t have the circuitry to control it.

All my music is digital now, I just listen to it off my phone with Bluetooth
 
Anyway this took forever. The damn cable bracket on the passenger side sure is a lot easier to access with the K member dropped lol

IMG_7448.jpegIMG_7449.jpegIMG_7452.jpeg

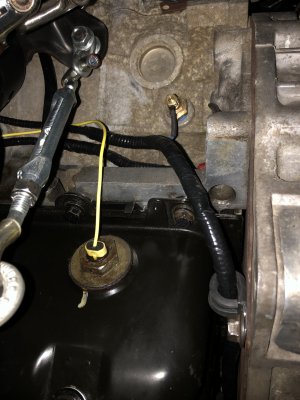
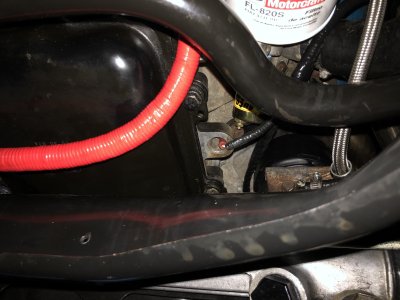
I did get the oil pressure sender in at least. The only thing accomplished directly related to the main project 🙃

IMG_7455.jpeg
 
Last edited:
Most of these pictures kind of suck but I’m beat and you can tell what’s going on in them

Starting from the… start….

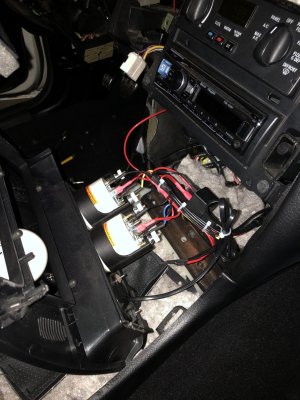
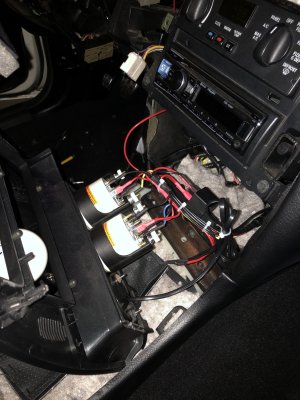
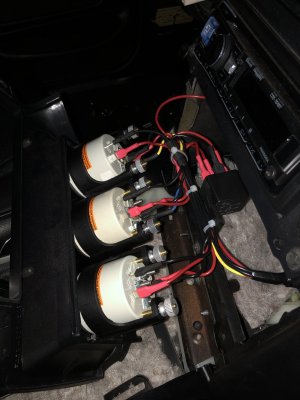
Gauge harness going in!

IMG_7457.jpeg

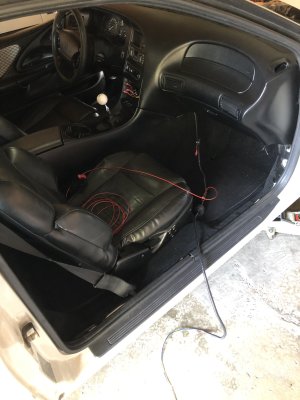
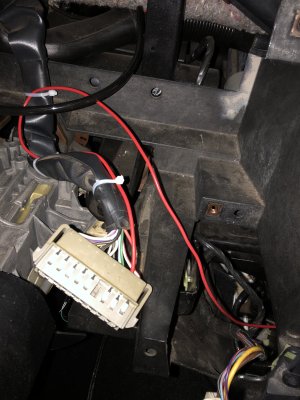
That red wire coiled on the seat is a last minute addition, I had forgotten I powered the stock JBL sub amp from a wire directly off the battery and in searching for a hot at all times wire in the trunk area to no avail(closest is the RKE which I didn’t want to use) so I ended up running it into the gauge harness.

IMG_7466.jpeg

I haven’t tucked away the zeitronix wires yet but it helps to see how they’re run. I’m very happy with how it turned out under here, I kind of guessed where things key things would end up and they ended up exactly where I wanted

IMG_7464.jpeg

Such as that passthrough location. Literally follows the same path as the battery cable did, through the hole in the apron and under the frame rail… actually this one I used the close hole the fuel lines used since my harness had more flexibility than the single cable. I like this routing better

IMG_7458.jpegIMG_7472.jpeg

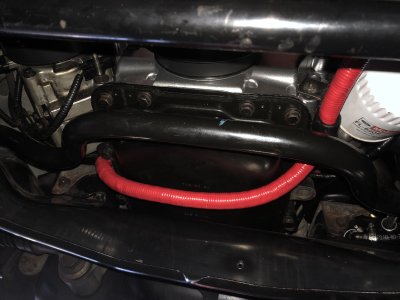
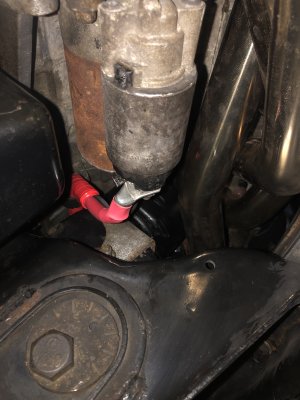
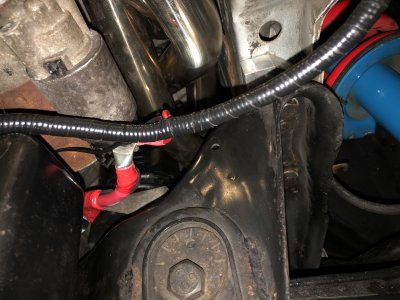
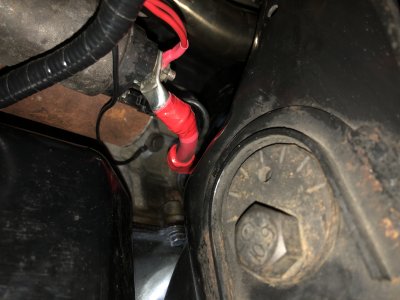
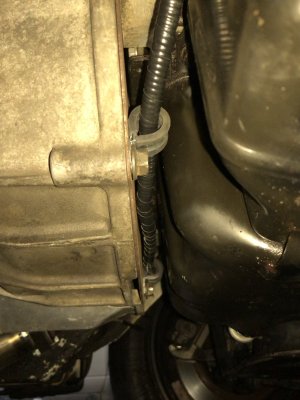
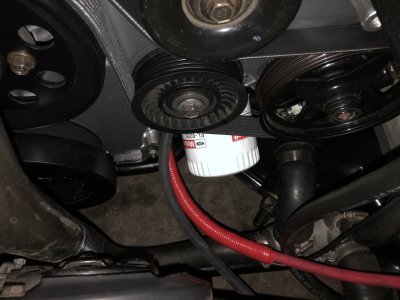
Once again following the path of the old battery cable from the cabin, the harness runs under the frame rail and directly to the starter B+ terminal. You can also see I managed to squeeze my hand through the k member/starter/oil pain tumor trap without getting stuck to run the ground wire to the block.

From there I took a path I didn’t intend to take but it turned out to be vastly easier than following the battery cable under the pan as I first planned

IMG_7459.jpeg

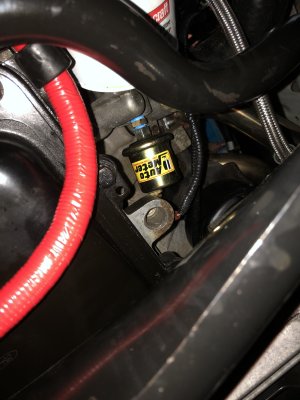
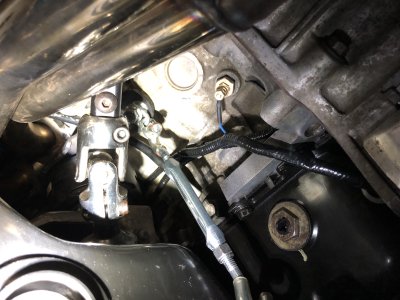
And from there I simply ran the wires to the senders

IMG_7460.jpegIMG_7463.jpeg


The coolant sender was fun to put in, didn’t want to drain the new coolant in spite of it literally going in place of the block drain, but I managed to get it swapped with only a little bit of an antifreeze shower 😆


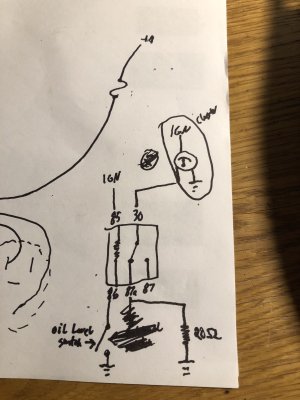
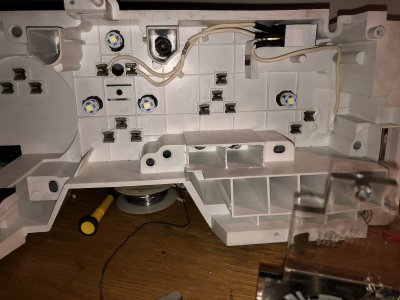
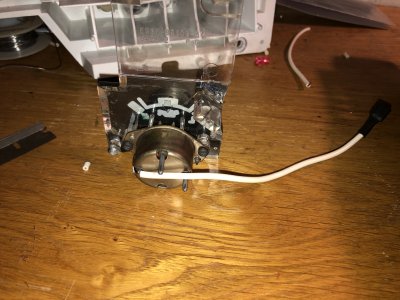
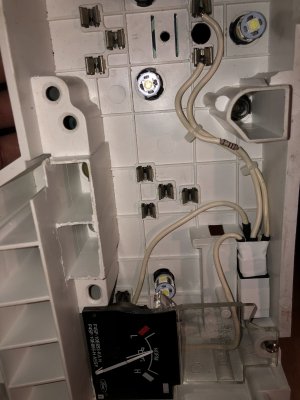
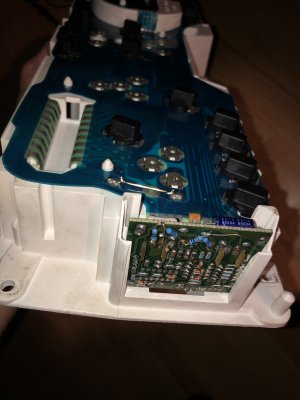
Still not done! I have a few ideas on what to do with the cluster gauges that will no longer function with these in their senders place (or will they???)
 
If you're going to run both, make sure the reading doesn't change when you add the cluster ones. I don't think it will work accurately.
 
If you're going to run both, make sure the reading doesn't change when you add the cluster ones. I don't think it will work accurately.

I’m not intending to run them off the autometer senders, I’m going to try something completely different
 
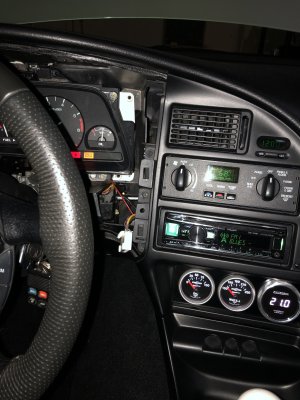
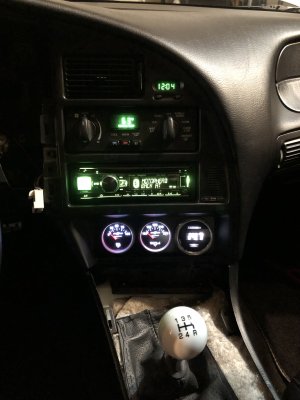
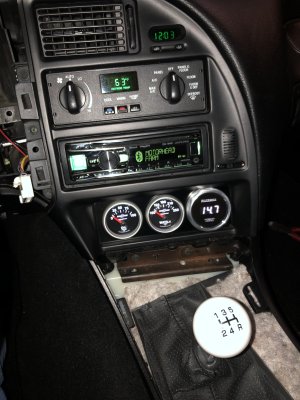
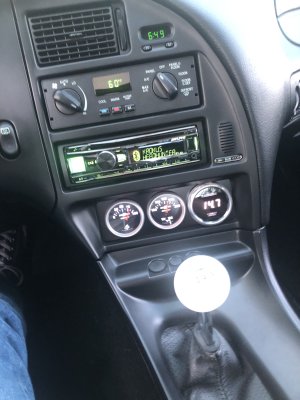
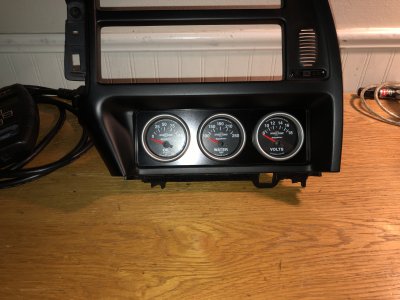
Didn’t get too much done tonight but the gauges are.


IMG_7479.jpegIMG_7475.jpegIMG_7477.jpegIMG_7476.jpeg

I can’t believe I redid half my car’s wiring scheme for these things 😆
 
  • Like
Reactions: Irv

Similar threads

Back
Top